A neat and well-edged lawn can take your yard from looking average to professionally manicured.
Mastering the art of edging the best lawn involves using the right tools and techniques to create clean, sharp boundaries between grass and adjacent surfaces.
Do you know the right way to achieve those crisp edging lines? Read on to discover the steps and tips that will make your lawn the envy of the neighborhood.
Key Takeaways
- Important tools for lawn edging range from manual to power edgers, each suited to different lawn sizes.
- Preparing the lawn by trimming grass, clearing debris, and lightly watering hard soil are critical initial steps for effective edging.
- Different edging styles offer different aesthetic and maintenance benefits, allowing customization according to personal preference and lawn needs.
What You’ll Need to Start Edging
Tools and Equipment
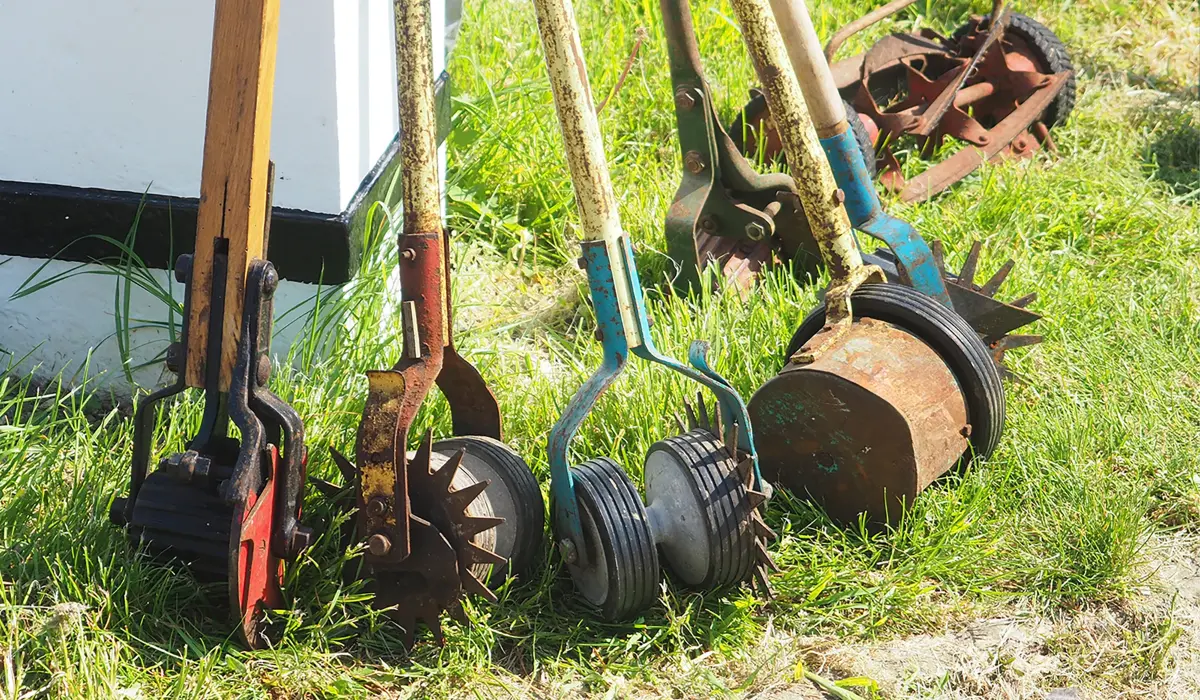
When you edge a sidewalk or lawn, having the right tools makes all the difference. Whether you go manual or powered, each option has pros and cons.
Here are some essential tools you might need when DIY edging for the first time:
| Tools | Description | Image |
|---|---|---|
| Manual Edger | Ideal for small lawns; requires more physical effort. |
|
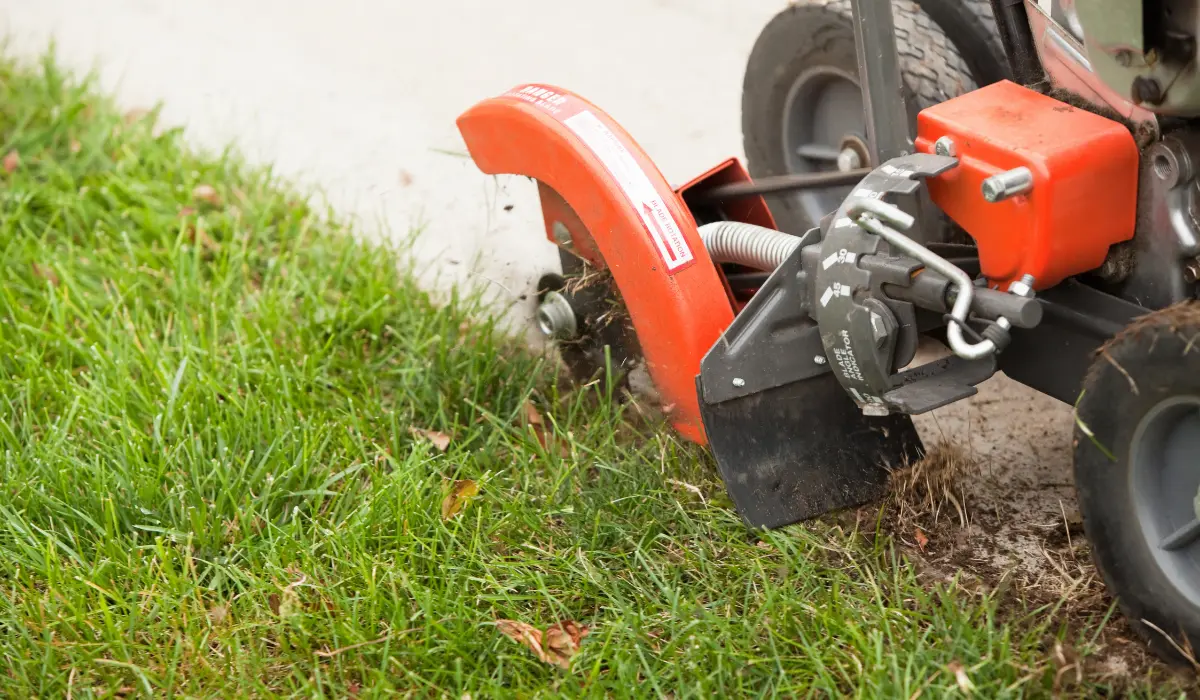
| Power Edger | Suitable for larger areas; comes in electric or gas models. |
|
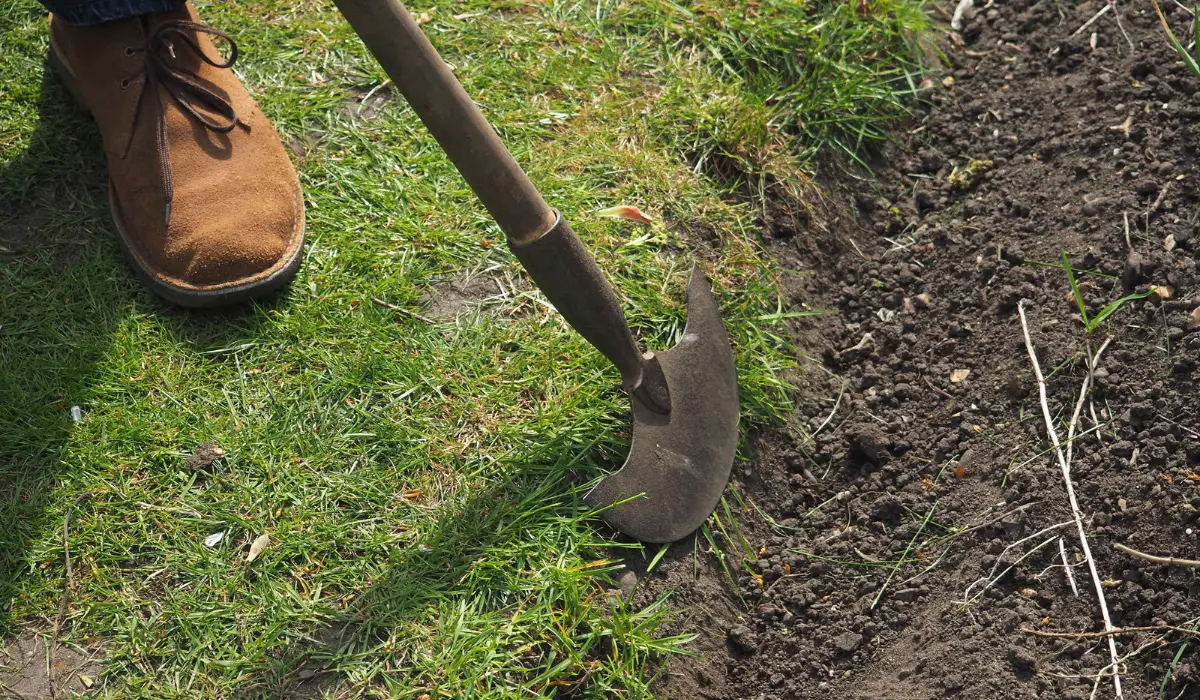
| Half-Moon Edger | Traditional tool; perfect for precision cuts along walkways and flower beds. |
|
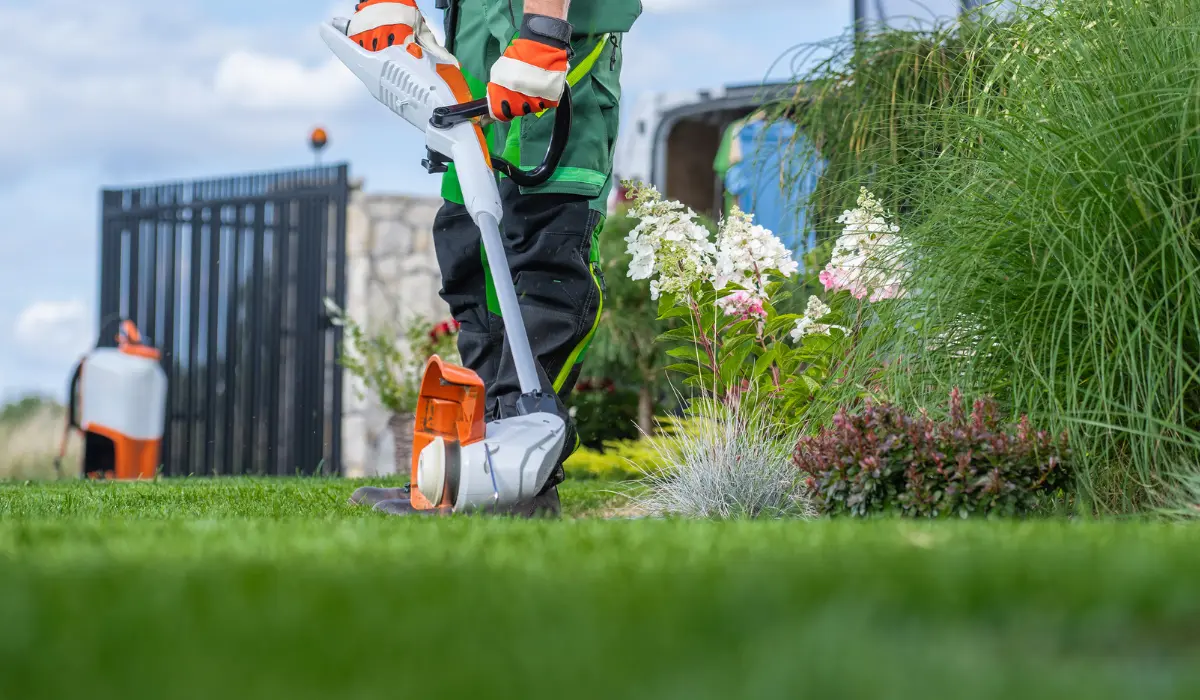
| Cordless Edger | Offers mobility and ease of use without the hassle of cords. |
|
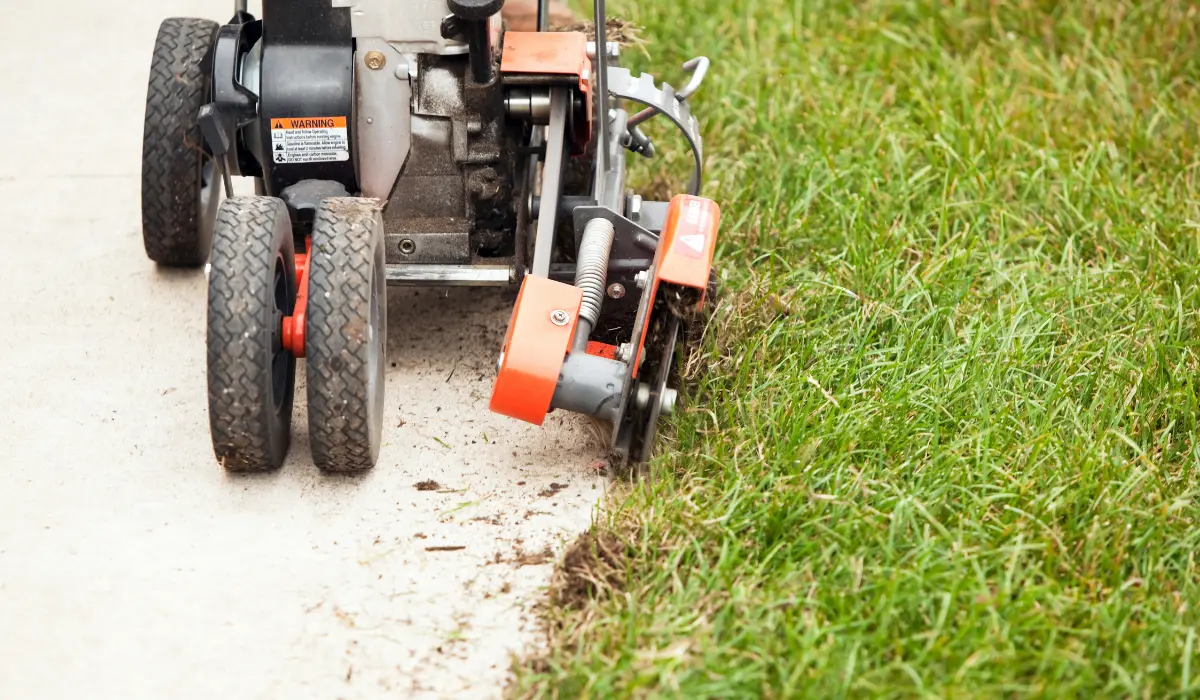
| Lawn Edger | Versatile tool; can be manual or powered, used for straight or curved edges. |
|
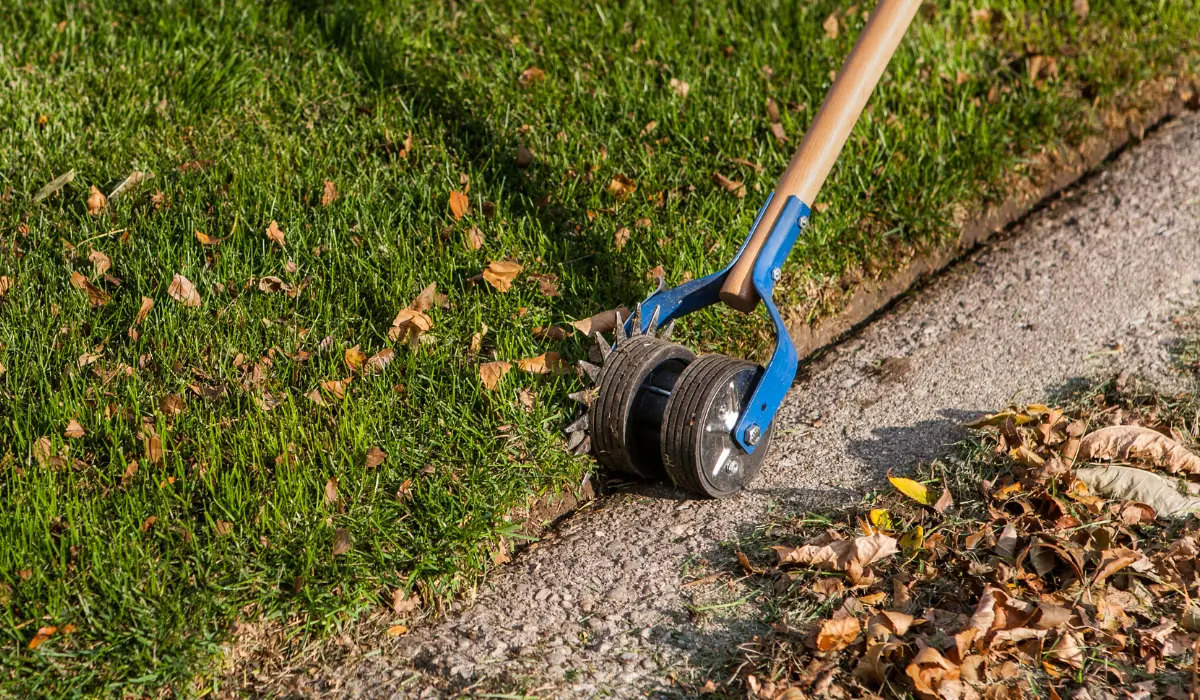
| Edging Tool | General term for any tool designed to create a clean edge along a lawn or path. |
|
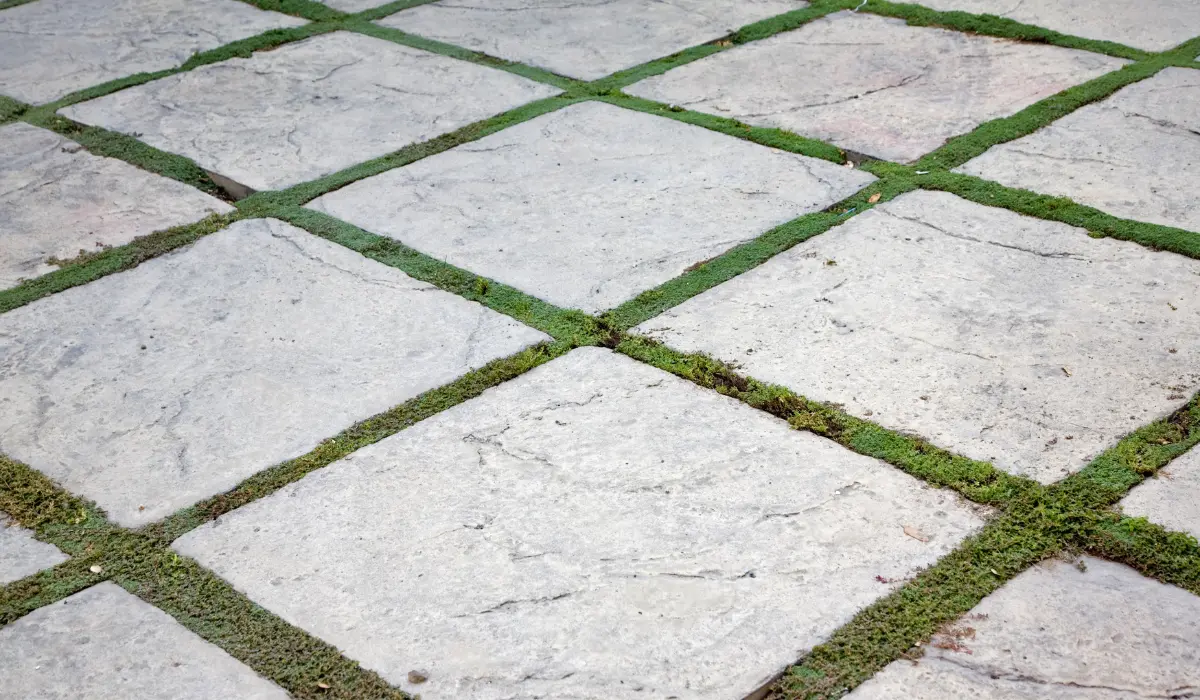
| Pavers | Sometimes used to create a neat boundary that an edger can work up against. |
|
Safety Gear
Safety is paramount when doing any gardening or landscaping task. While straightforward, lawn edging involves sharp blades and power tools, which pose risks if improperly handled.
Here’s what you should have to stay safe:
- Safety Glasses or Goggles
- Gloves
- Ear Protection
- Sturdy Shoes
- Long Pants
Step-by-Step Guide to Edging Your Lawn
Edging your lawn can improve curb appeal and give your yard a polished, professional look.
Step 1. Prepare Your Lawn
Preparing the lawn sets the foundation for seamless edging. Here’s what you need to do:
- Trim the grass to a uniform height.
- Clear debris along sidewalks, garden beds, and walkways, such as rocks, branches, or excessive clippings.
- Lightly water the soil if it’s too hard to cut through easily.
- Grass-seed any bare spots exposed during edging to promote a thick, even lawn.
Step 2. Choosing Your Edging Style
Deciding on an edging style depends on your desired look and the specific lawn areas you plan to address, such as the edge of a sidewalk or flower beds. Your options include:
| Edging Ideas | Details |
|---|---|
| Natural Edges | Blend with the lawn with minimal maintenance. |
| Metal Edges | Durable but can be costly. |
| Stone Edges | Aesthetic appeal, but requires placement effort. |
| Plastic Edges | Affordable, easy to install, but less durable. |
Step 3. Using a Manual Edger
Like a straight edge, a manual edger is an excellent tool for precise, controlled edging. It’s ideal for homeowners looking to define small lawn areas or garden beds without undue expense.
Tip: Start with a straight line as a guide, pushing the edger down along the line to cut through the soil and grassroots. Frequent maintenance with a manual edging tool ensures straight, clean edges of your lawn.
Step 4. Using a Power Edger
Power edgers are perfect for larger lawns and those who want to complete the task quickly. They offer efficiency and power but require more care to avoid damaging turf.
Tip: Adjust the blade height based on your lawn’s requirements. Follow your predefined outline, ensuring a steady pace for a uniform cut. Power edgers can easily handle tough soil and thick grass.
Step 5. Using a String Trimmer
A string trimmer, or weed eater, can be adapted for lawn edging, especially along irregular or curved areas. They offer flexibility and are excellent for detailed work around garden beds and walkways. Some have edging attachments for improved results.
Tips for Using a String Trimmer
Tilt the trimmer to cut a vertical line along your edge. Keep the trimmer at a consistent angle to achieve a uniform edge. This method is practical for both beginners and experienced lawn care enthusiasts.
Step 6. Finishing Touches
Completing the edging process involves fine-tuning and cleaning up. To achieve a professional-looking lawn, consider these tips when finishing touches:
| Final Touch-Up Tips | Details |
|---|---|
| Cleaning | Remove clippings and debris. |
| Inspection | Check for uniform, straight lines. |
| Adjustments | Smooth out irregular edges if necessary. |
| Maintenance | Regular edging keeps your lawn looking sharp. |
Common Mistakes to Avoid When Edging
While there are no other easy ways, avoiding common pitfalls can make edging a lawn a better experience. Consider these specifics of what not to do.
Overcutting the Turf
Overcutting the turf occurs when too much grass is trimmed during edging. This can lead to uneven edges and damage to the grass.
It’s crucial to avoid cutting too deeply into the turf. Overcutting can weaken the grass and make it more susceptible to disease.
Ignoring the Weather Conditions
Weather conditions can significantly impact the edging process. Edging when the grass is wet or during extreme heat can cause various issues.
Edging in wet conditions can lead to muddy clumps and uneven edges. Heat can dry out and stress the grass, leading to damage.
Inconsistent Edging Patterns
Inconsistent edging patterns result in an unattractive, uneven lawn. It often happens when there isn’t a clear plan or steady pace.
A consistent pattern ensures a clean and professional look. Establishing a pattern and sticking to it is essential for the best results.

