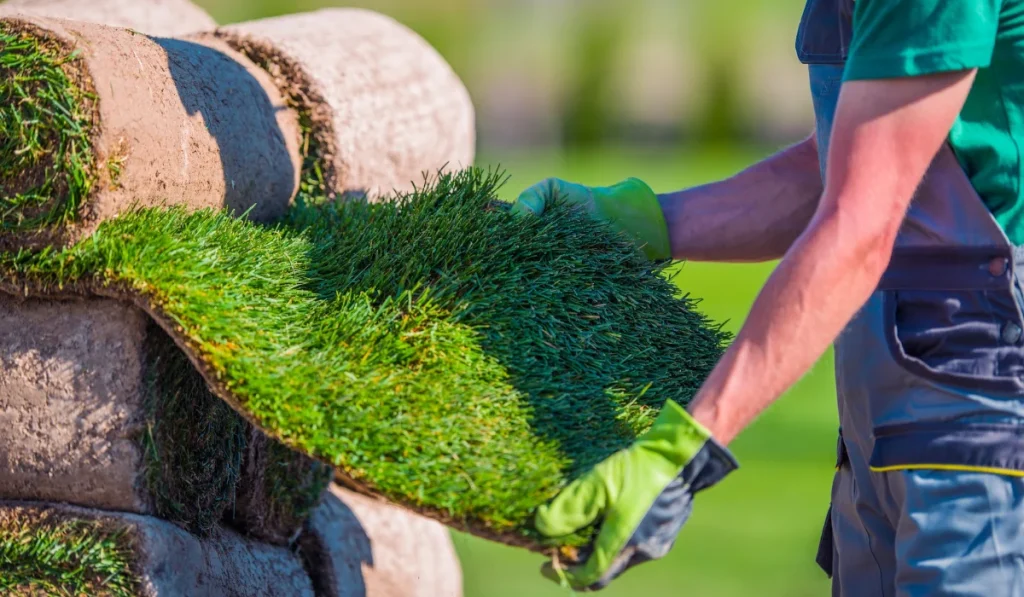
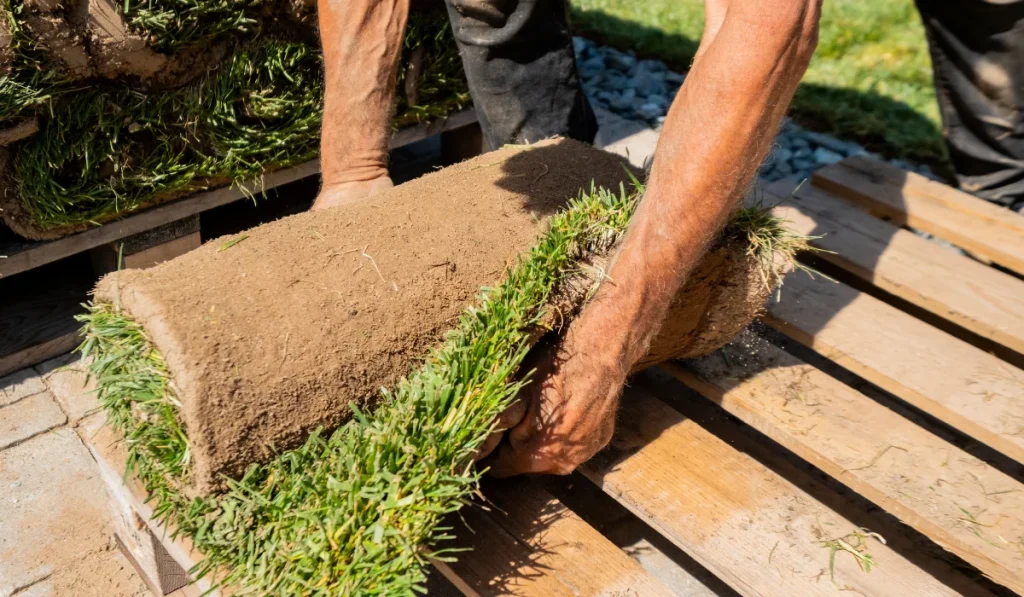
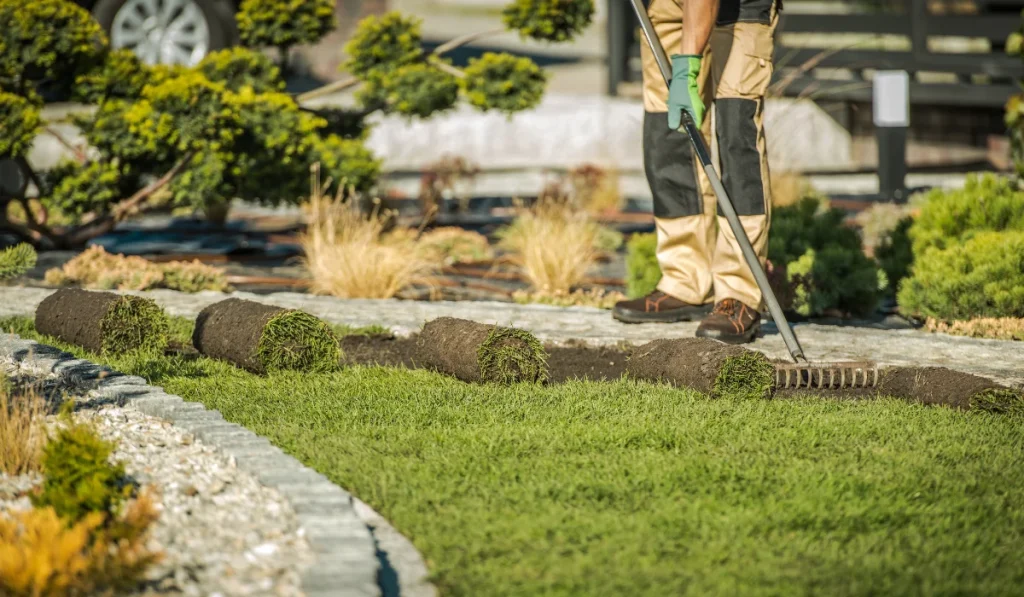
When we discuss the virtues of sod, we typically talk about how easy and affordable it is to use to quickly establish an entirely new lawn. Rather than spending months caring for seed and hoping it will grow in healthy and weed-free, sod allows homeowners to get a big head start on the grass-growing process.
But growing a whole new lawn isn’t the only reason to use sod. You can use smaller pieces of sod to repair unsightly damage to your lawn as well. Maybe you had a guest drive across your lawn and tear up the turf adjacent to your driveway. Or maybe you’ve got a new puppy who decided to practice digging in the back yard. Whatever the source of the damage, sod is an inexpensive, easy way to restore the affected parts of your lawn.
Start by Assessing the Damage
Measure the area of the damaged section of lawn, and plan to purchase a piece of sod about 1/3 larger than that area. It’s always better to have extra material, rather than not enough. Be sure to order a species of sod that’s similar, if not identical to the grass that’s already in your lawn.
Prep the Area
Before laying your new sod, use a hoe and rake to remove any remaining dead grass from the damaged area. Rake slightly past the edges of the damaged area if necessary to form an even rectangular patch of soil for the sod to rest on. Dig about ¾ of an inch down, and apply a fresh layer of compost or peat moss to provide the new sod with added nutrients. Finally, water the area, and then tamp it down to ensure the soil is level with the rest of your lawn.
Laying the Sod
Before you lay your new sod, use a sod cutter or sharp utility knife to cut the sod to fit the space. Again, bear in mind that you can always cut more material away, but you can’t add material. Once you’ve cut the sod to the appropriate size, lay it on the soil and “knit” the edges of the sod to the adjacent grass by folding and pressing them together. Press the sod down so that it’s level with the rest of your lawn, and then water it thoroughly.
Once you’re done laying the sod, just follow our new sod care guidelines until it’s matured and firmly rooted in the soil. And there you have it! In just a few simple steps, you can have that damaged patch of your lawn looking good as new.


