When California nights get cold, many homeowners ask how to keep new sod alive in winter. Winters are mild, but winter temperatures slow rooting, so new sod needs consistent care. In SoCal, the Bay Area, or the Central Valley, new sod needs extra care to stay healthy until spring.
With less heat and fewer weeds, roots set faster before spring growth. Good soil prep, watering, and mowing help your sod get off to a strong start.
This guide shows five steps to keep new sod alive in California winters, from laying sod to avoiding dormancy damage.
Key Takeaways
- Prepare and test your soil before laying sod to promote strong root growth.
- Water less often but deeply to avoid soggy soil and air pockets.
- Delay mowing until your sod roots have established.
- Use good sod installation techniques to enjoy a healthy green lawn in spring.
Step 1: Prepare the Soil Before Laying Sod
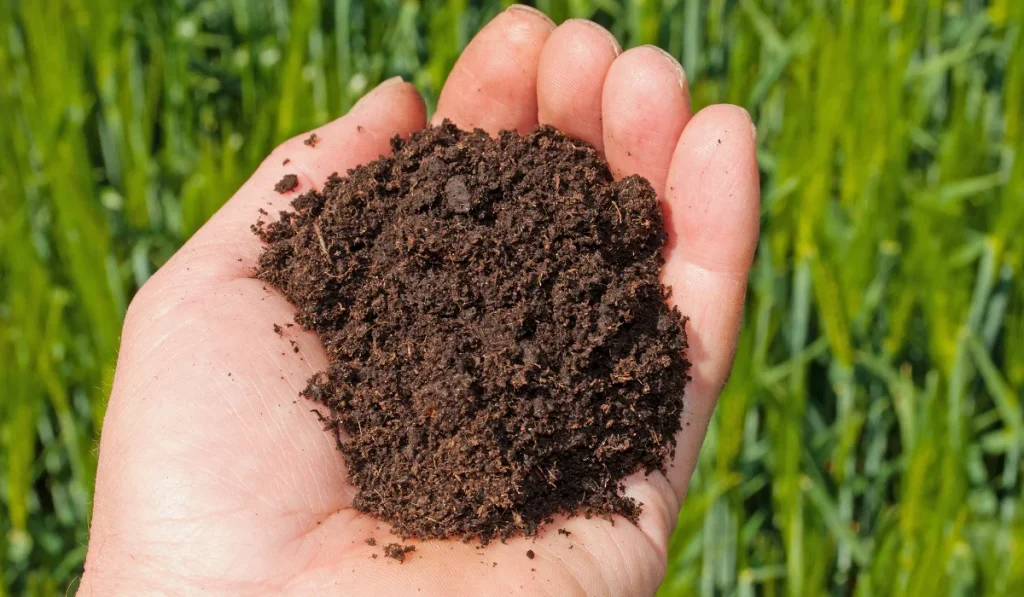
First, prepare your soil. Start with a soil test to check pH and nutrients. Add compost or a compost–topsoil blend to improve drainage. Only mix sand into clay if it is thoroughly blended with organic matter.
Clear weeds a few weeks before installing sod. If you use an herbicide, follow the label and allow time for regrowth to stop. Loosen compacted soil with a tiller and grade the surface smooth so new roots can reach the soil faster.
Pick a grass suited to your winter climate so that rooting stays steady. Cool-season grasses like tall fescue and bluegrass grow well in cool weather. Warm-season grasses like St. Augustine, Zoysia, and Bermuda can still be installed during winter in mild, frost-free parts of California.
But they root more slowly and require extra care until fully established. They also remain dormant and brown until spring, so many homeowners choose Bermuda that has been overseeded with winter rye to maintain green color during the colder months.
For professional-grade results, we can help prepare your soil and recommend the right sod varieties for your location.
Step 2: Lay Sod the Right Way
Proper sod installation makes all the difference in winter success. Start by lightly moistening the soil, then lay your fresh sod in a brick-like pattern to avoid visible seams.
When you lay sod in winter, the cooler temperatures help prevent it from drying out, but you still want each piece pressed firmly into the soil to remove air pockets and ensure solid contact.
Use a sod roller or garden tool to level the surface. A smooth grade helps roots grow well. Do not stretch or overlap pieces; fit them snugly together.
If you install it yourself, work fast and protect exposed rolls from wind so they do not dry out. Winter is mild in California, but the wind can still dry the sod quickly.
Step 3: Follow a Smart Winter Watering Schedule
Watering grass in winter needs balance. New sod needs water to root, but too much water causes soggy soil and fungus.
Water right after installation. Water lightly and frequently at first. After the sod begins to root, shift to deeper, less frequent watering. Water in the early morning or midday so the soil absorbs before nighttime temperatures drop.
Switch to deeper watering only once the sod resists lifting. Deep watering helps the root system grow deeper and prevents shallow roots from drying out quickly. If you see puddles, cut back.
You can set a watering plan for your grass to use less water while keeping your sod healthy.
Step 4: Protect New Sod From Dormancy and Foot Traffic
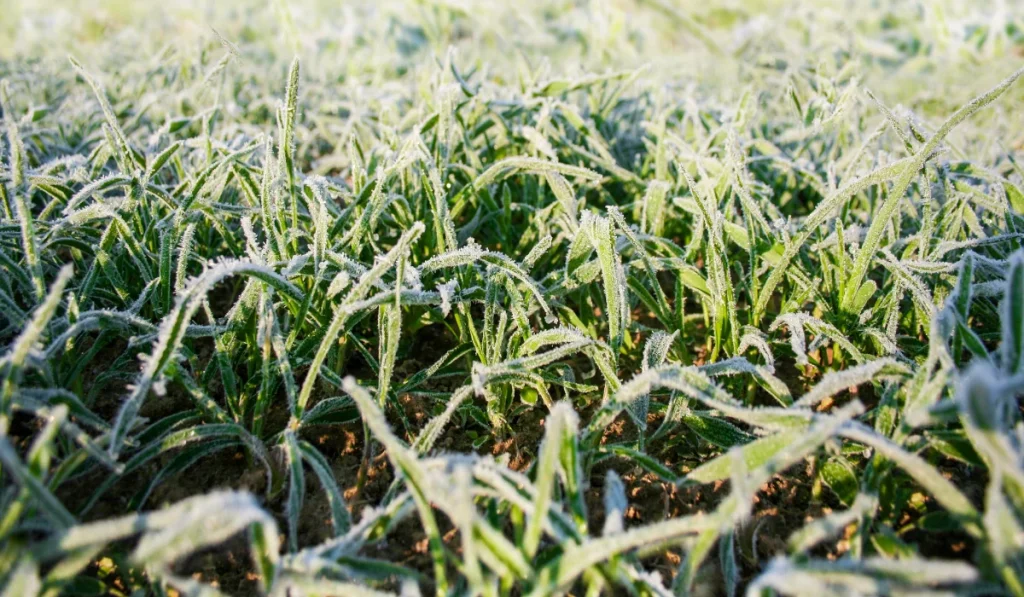
Even with regular watering, new lawns may go dormant during the coldest winter months.
Limit foot traffic on dormant turf. People and pets can damage roots and compact soil. If you see frost, wait for the ground to thaw before walking on the lawn.
To reduce dormancy stress, keep the soil moist but not soaked. If your soil test calls for it and soil temperatures are warm enough, apply a light starter fertilizer early in the season, and only if soil temperatures stay above 55°F, so the grass is ready when the growing season starts.
Step 5: Mow and Maintain for a Healthy Winter Lawn
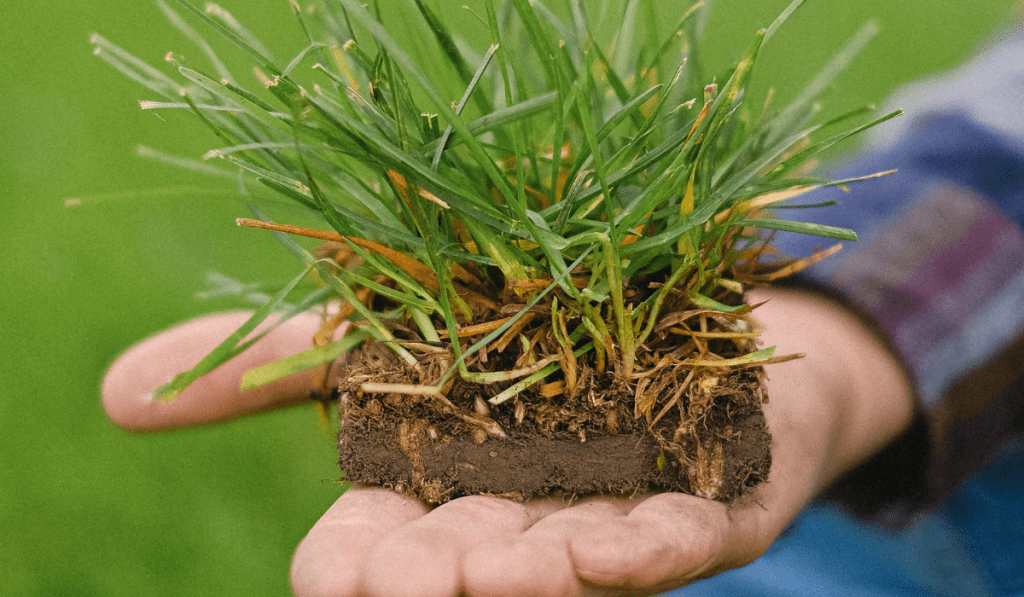
Once your sod has rooted firmly, it’s time to start mowing. Wait at least two to three weeks before your first mow, and check by tugging gently. If the sod resists lifting, it’s ready.
Use a higher mowing height in winter to reduce stress on the lawn. Sharp blades prevent tearing, which can invite disease. During colder months, you may mow less often since growth slows.
Avoid using herbicides during the first few weeks after installation. Instead, hand-pull weeds to avoid damaging tender sod roots. Once spring arrives, resume regular fertilizer applications and mow every 7 to 10 days based on growth.
Good mowing and proper watering help your sod move from winter dormancy into spring growth.
Keeping Your New Lawn Healthy Year-Round in California
Learning how to keep new sod alive in winter in California helps your lawn stay healthy through every season of the sod cycle. With the proper preparation, watering, and care, you’ll enjoy a lush, healthy lawn when spring arrives.
Whether you’re in Los Angeles, San Diego, or Sacramento, our team at SodLawn offers delivery, sod installation, and landscaping support so you can choose what best fits your needs.
Contact us today, let’s start your lawn project and give your yard the head start it deserves this winter.
FAQs
Can I install new sod in California during winter?
Yes. Winter installation gives sod time to root without summer heat. Cool-season grasses like fescue do well, and warm-season types such as St. Augustine and Bermuda grass can also establish in mild areas with extra care.
How often should I water new sod in winter?
Water at least 1–2 times per day during the establishment period, depending on rainfall. Keep the sod consistently moist until the roots fully establish. Once the sod has rooted, you can gradually reduce watering based on your lawn’s needs.
What’s the best way to prepare soil for sod installation?
Perform a soil test, apply an approved herbicide to remove weeds, and use a sod cutter to remove existing grass and debris. This exposes the soil so you can rake and level the area before adding organic amendments and topsoil to create a smoother surface and improve root growth.