If you’ve just finished building your dream home, you’re probably already looking forward to starting with landscaping. A healthy lawn can help your new home look finished and inviting.
A new construction sod installation not only improves curb appeal. It will also protect your soil from erosion and help keep dust down. However, many homeowners don’t get it right the first time.
California’s varied climate, from foggy coasts to hot inland valleys, means the right approach can make all the difference between a struggling patchwork of turf and a thriving sod lawn you’ll enjoy for years.
In this guide, we’ll walk you through how to prepare your lot for landscaping, why soil preparation is crucial, how to lay sod step by step, and how you can care for your new, green lawn.
Key takeaways:
- Prepare your soil thoroughly with grading, soil amendments, and a soil test before you lay sod.
- Choose grass types suited to your region, like tall fescue, bermudagrass, or zoysia.
- Install sod quickly after delivery to protect it from heat stress and promote vigorous root growth.
- Follow proper sod care steps: watering, mowing, and seasonal fertilization.
Step 1: Measure and plan your sod installation
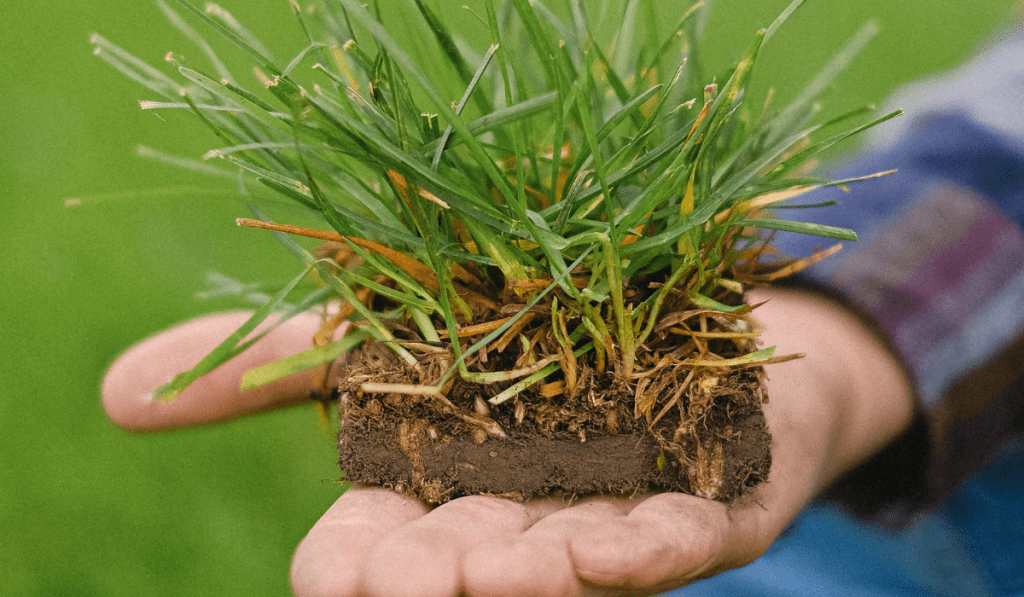
Before you order, measure your yard in square feet to determine the amount of sod you need. It’s a good idea to add about 3-5% more to cover extra cuts around features such as a walkway, curves in your front yard, or uneven edges. Sod farms usually deliver sod in rolls or pallets, and it’s best to lay it down on the same day to keep it fresh and healthy.
Here are some factors to keep in mind when choosing your grass types:
- Tall fescue – Ideal for most California lawns, tolerates heat and moderate drought.
- Bermudagrass – Best for sunny, high-traffic areas.
- Zoysia – Slow-growing, dense, and great for reducing maintenance.
Step 2: Soil preparation is everything
Healthy lawns start with proper soil prep. You can begin by removing any old grass, rocks, or debris. Also, keep in mind that if you’re working on brand-new construction soil, heavy equipment will likely compact your soil.
You’ll need to aerate or till the soil to loosen the top 4–6 inches, which will help new grass shoots grow deep.
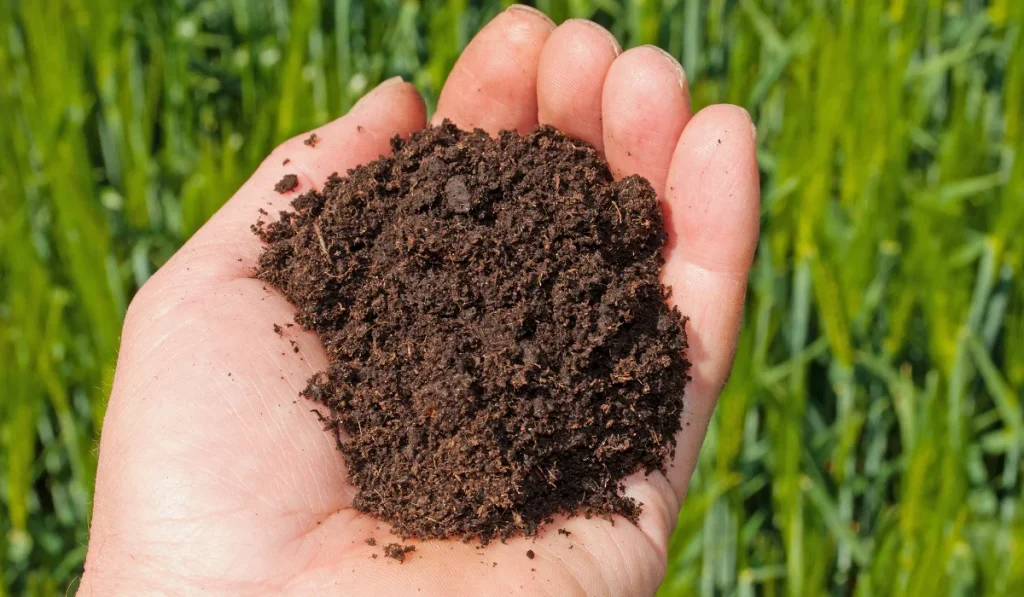
- Soil test: Check pH and nutrient levels to determine what soil amendments or organic matter you’ll need.
- Topsoil: Spread 2–3 inches of nutrient-rich topsoil if the existing soil is sandy or clay-heavy.
- Grade: Ensure the lawn slopes away from your house for drainage.
Step 3: Lay sod like a pro
If you plan on laying sod by yourself, here’s the step-by-step guide to sod installation:
- Start along a straight edge – such as a driveway or walkway.
- Stagger the seams – like bricks, for a natural look and better stability.
- Fit sod pieces tightly – avoid gaps or overlaps. Trim edges with a sharp knife or sod cutter.
- Roll the lawn – use a lawn roller to remove air pockets and improve root growth.
Work quickly. You need to keep your new sod under shade to protect it from drying out under the California sun.
Step 4: Watering and early sod care
Right after installation, water the sod until the soil is moist 6 inches deep. In the first two weeks, water daily to encourage root growth. Adjust your sprinkler settings based on the weather and the coverage of your sprinkler heads.
- Use a starter fertilizer high in phosphorus to promote rooting.
- Avoid heavy foot traffic until the sod is well-rooted (about 2–3 weeks).
Step 5: Mowing and ongoing lawn care
Your first mowing should be done 2 weeks after installation. Use a sharp mower and cut no more than one-third of the blade length.
Long-term lawn care tips:
- Fertilize your grass seasonally, depending on its type.
- Overseed with grass seed in fall for cool-season grass lawns.
- Apply mulch around garden beds to reduce water competition.
Step 6: Keep your new lawn healthy year-round
California’s microclimates mean your new lawn care routine might differ from your neighbor’s. Warm-season grasses like bermudagrass and zoysia thrive with summer feeding, while cool-season grasses like bluegrass or tall fescue need more attention in spring and fall.
Regular watering, seasonal fertilization, and occasional aeration will help your beautiful lawn stay vibrant for years.
Let the Pros Handle It
Want to skip the hassle and get it done right the first time? SodLawn offers professional sod installation services across California.
From measuring your lot to selecting the best sod for your climate, our team takes care of everything. We deliver fresh, locally grown sod straight to your doorstep, and we can install it, too.
Final Thoughts
If you want a lawn that looks great from the start, investing time in proper preparation and care will pay off. Whether you take the DIY route or call in a pro, your California home can have a beautiful lawn that’s perfect for backyard barbecues and family time.
Ready to skip the guesswork and get your new lawn started right? At SodLawn, we deliver fresh, locally grown sod across California, straight from our partners’ sod farms to your yard.
Contact us today, and we’ll help you choose the right grass type and schedule delivery so you can start enjoying a lush, green lawn sooner.
FAQs
What is the best time of year to install sod in California?
The ideal time is spring or early fall when temperatures are mild. Avoid the peak of summer or winter to give your sod the best chance to root deeply.
How do I know if my soil is compacted?
If water pools on the surface or you struggle to insert a screwdriver into the ground, your soil is likely compacted and needs aeration or tilling.
Can I mix different sod types in one yard?
It’s not recommended. Mixing types can lead to uneven growth, color differences, and different care needs, making maintenance harder over time.