A lawn project can go wrong quickly when sprinkler heads disappear beneath tall grass, soil, or old sod. Aeration equipment, dethatchers, sod cutters, wheelbarrows, and landscaping tools can damage irrigation components that were easy to miss before work began.
Learning how to mark sprinkler heads in lawn areas gives your Sacramento project a cleaner starting point. The process is simple for visible sprinkler heads, but deeper work requires additional care. Mark the irrigation components you can identify, test each zone, create a basic map, and request utility markings before any excavation.
Key Takeaways
- Run each irrigation zone before lawn work begins.
- Place a visible landscape marker beside every sprinkler head.
- Mark valve boxes, drip lines, and other irrigation components near the project area.
- Photograph the lawn and create a basic zone map before removing sod or soil.
- Do not assume an 811 request will identify private sprinkler lines.
- Contact USA North 811 before digging, even for shallow excavation.
- Keep official utility flags and paint in place until the project is complete.
- Test the irrigation system again after lawn work to catch damage early.
Why Sprinkler Heads Need To Be Marked Before Lawn Work
Sprinkler heads sit close to the soil surface, which makes them easy to overlook. Some are visible when the system runs but difficult to spot when retracted. Others may be partially buried by soil, covered by grass, or hidden near sidewalk edges and planting beds.
Damage can occur during common lawn projects such as:
- Sod removal
- New sod installation
- Core aeration
- Dethatching
- Grading
- Lawn edging
- Soil amendment work
- Drainage improvements
- Tree or shrub planting
- Trenching for new irrigation lines
A damaged head can create uneven irrigation, pooling water, overspray, or dry sections in the lawn. The UC IPM guide to lawn diseases notes that irrigation problems are a common cause of discolored lawns. Fixing broken sprinklers and checking water coverage may be enough to improve the appearance of some damaged turf areas.
Marking the system before work begins reduces the chance of creating a new irrigation problem while trying to improve the lawn.
Gather Simple Marking Supplies
You do not need complicated equipment to mark visible sprinkler heads.
Prepare:
- Tall landscape marker flags
- A phone or camera
- A notepad or digital notes app
- A basic sketch of the yard
- Painter’s tape or removable labels for zone notes
- A screwdriver for opening irrigation control boxes when needed
- A helper who can turn irrigation zones on and off
Choose markers that are easy to see above the grass and from a distance. Place each flag beside the sprinkler head rather than directly through the component or surrounding pipe area.
If contractors will be working on the lawn, explain what your flags identify before the project begins. Do not assume every marker in the yard will be interpreted correctly without a quick walkthrough.
Run Every Irrigation Zone Before Marking
Start by turning on the irrigation system one zone at a time.
Watch the full lawn while each zone runs. Some sprinkler heads may rise only when water pressure reaches that part of the system. Others may spray weakly, remain stuck, or create a small puddle instead of a visible spray pattern.
As each sprinkler head appears:
- Walk to the head carefully.
- Place a landscape marker beside it.
- Note the irrigation zone.
- Check whether the spray pattern looks normal.
- Photograph the area before moving to the next head.
Repeat the process for every zone.
Do not mark only the obvious heads in the center of the lawn. Check corners, narrow strips, side yards, areas near patios, sidewalk edges, driveways, retaining walls, trees, and planting beds.
Look for Signs of Hidden or Damaged Sprinkler Heads
A sprinkler head may be present even when it does not rise properly.
Watch for:
- Water bubbling from the soil
- A soft or muddy patch
- A small area of pooling water
- Grass moving without a clear spray pattern
- A dry section surrounded by healthier turf
- Water spraying sideways from below the grass
- Unusual pressure loss in one irrigation zone
Mark the area and avoid digging blindly. A buried or broken head may sit near shallow irrigation pipe.
If the source is difficult to identify, an irrigation professional can inspect the zone and locate the component more safely.
Mark More Than the Sprinkler Heads
Sprinkler heads are the most visible components, but they are not the only parts that can be damaged during lawn work.
Mark or document:
- Sprinkler heads
- Valve boxes
- Backflow components
- Drip irrigation emitters near lawn borders
- Visible irrigation tubing
- Irrigation control boxes
- Hose connections
- Landscape lighting near the project area
- Drainage grates
- Tree wells
- Utility boxes
Valve boxes are especially important when removing sod or changing grade levels. A box that becomes buried or covered can be difficult to find later.
Use your notes and photographs to record where each component sits in relation to fixed features such as a patio corner, fence line, sidewalk, or tree.
Create a Simple Irrigation Map
A basic yard map can save time during future lawn projects.
Draw the shape of the lawn and add:
- Irrigation-zone numbers
- Sprinkler-head locations
- Valve-box locations
- Sidewalks
- Driveways
- Planting beds
- Trees
- Patios
- Fences
- Areas scheduled for sod removal or grading
The map does not need to be a technical drawing. A clear sketch with photos can help contractors understand where the visible components are located.
Update the map whenever the irrigation system changes. If a sprinkler head is moved, replaced, or added, record the new location.
Use Extra Care Before Aerating or Dethatching
Aeration and dethatching can improve turf health, but both activities can damage sprinkler heads when the system has not been marked.
Before aerating:
- Flag each sprinkler head.
- Mark valve boxes.
- Identify shallow irrigation components near lawn edges.
- Walk the yard with the equipment operator.
- Confirm which areas should be avoided.
The same preparation applies to dethatching equipment and sod cutters. These tools move across the lawn in repeated passes, so an unmarked component can be hit before the operator notices it.
The UC IPM guide to healthy lawn maintenance includes aeration and dethatching as part of a broader lawn-care program. Marking irrigation components first helps you complete that maintenance without creating avoidable damage.
Mark Sprinkler Heads Before Sod Removal
Sprinkler marking matters even more when old grass will be removed.
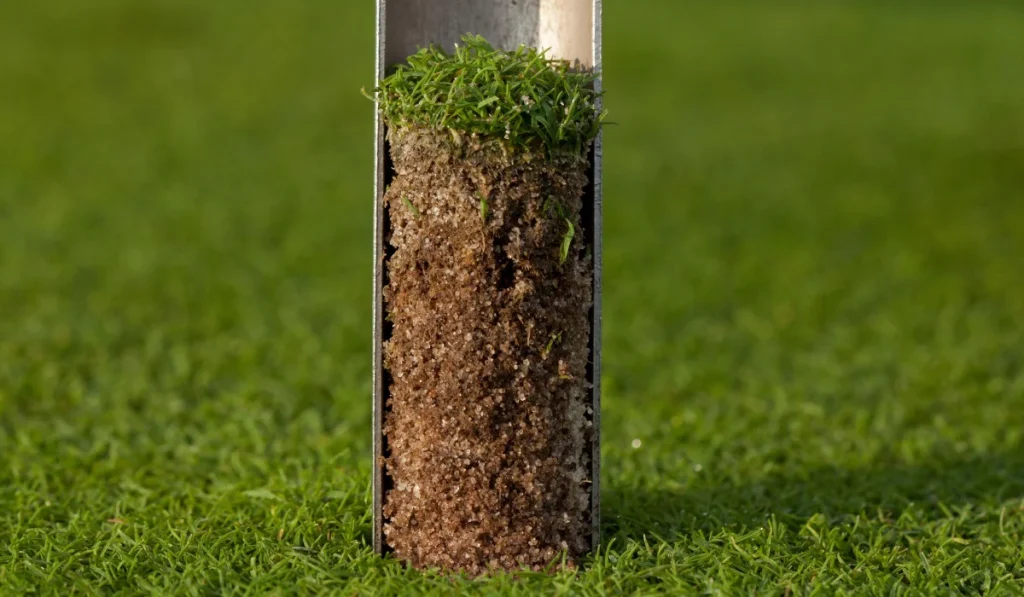
A sod cutter can pass close to the soil surface and damage sprinkler heads that sit slightly below grade. Soil preparation and grading can also hide irrigation boxes or shift the finished lawn height.
Before removing old turf:
- Run every irrigation zone.
- Flag visible heads and valve boxes.
- Photograph the full project area.
- Mark the planned sod-removal boundary.
- Tell the contractor which markers identify irrigation components.
- Confirm whether any heads need to be raised, lowered, or relocated after grading.
New sod should sit evenly around sprinkler heads without burying them. The finished height needs to allow the heads to rise and spray properly.
SodLawn offers sod delivery and professional installation in Sacramento for residential and commercial properties. The Sacramento page also lets homeowners enter a ZIP code to compare locally available sod varieties.
Test the System Before Installing New Sod
Do not wait until the new sod is installed to check the irrigation system.
Run each zone after the old lawn is removed and before new sod is laid. This is the best time to spot:
- Broken heads
- Weak spray patterns
- Leaks
- Poor coverage
- Overspray onto sidewalks
- Dry corners
- Heads sitting too low
- Heads sitting too high
- Areas where grade changes affect water flow
Correcting these issues before installation protects the new turf and reduces the need to lift or cut fresh sod later.
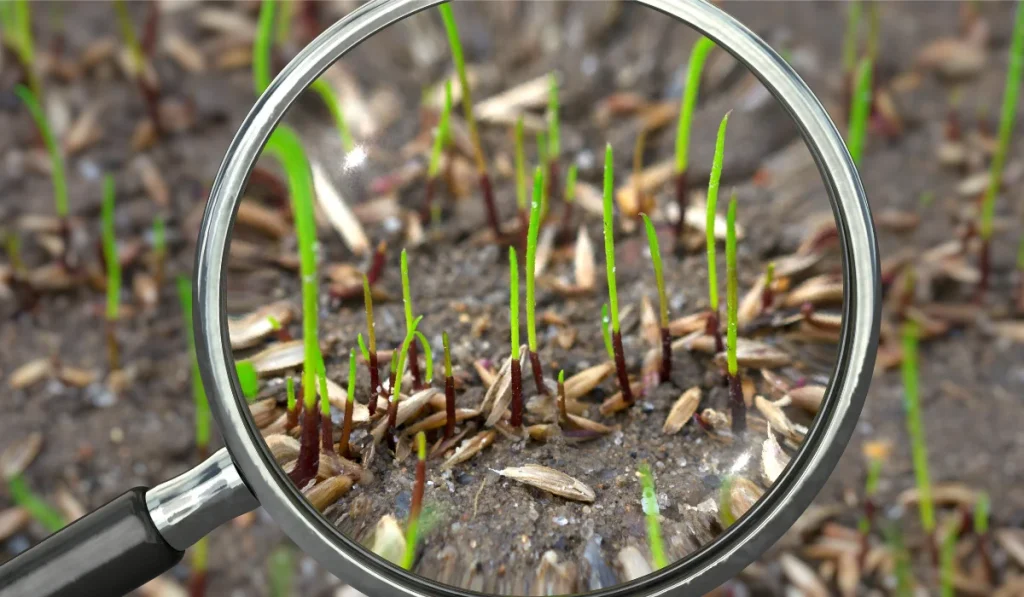
SodLawn’s Sacramento new-sod watering guide explains that even water distribution matters during establishment. A new lawn may struggle when some areas remain dry while others receive too much water.
Distinguish Sprinkler Markers From 811 Utility Markings
Marking sprinkler heads is not the same as requesting public utility markings.
Sprinkler flags help you and your contractor identify private irrigation components. An 811 request alerts utility owners that excavation is planned so they can mark buried facilities they own and operate.
For Sacramento projects, USA North 811 handles before-you-dig requests. Its guidance explains that utility companies may mark buried lines with flags or paint after a request is submitted.
USA North 811 also states that private utility lines are not included in standard utility markings. These can include:
- Landscape irrigation lines
- Landscape lighting
- Private gas lines serving outdoor equipment
- Electrical lines to detached garages or sheds
- Other privately owned underground components
That means sprinkler-head flags and a basic irrigation map remain useful even after an 811 request has been completed.
Contact 811 Before Digging
If the lawn project involves excavation, trenching, grading, or any other digging, contact USA North 811 before work begins.
USA North 811 advises contacting the service even when the planned digging is shallow because buried cables and pipes may sit close to the surface. The process includes:
- Premarking the planned dig area in white.
- Submitting a request to 811.
- Waiting for utility responses and markings.
- Confirming that each utility operator has responded.
- Digging carefully around marked areas.
Do not remove official utility flags or paint markings while the project is active.
If deeper excavation may cross private irrigation lines, ask an irrigation contractor or private locating service whether additional marking is needed.
Avoid Confusing Your Flags With Utility Markings
A lawn project can include several types of markers at the same time.
To prevent confusion:
- Tell the contractor which flags identify sprinkler heads.
- Keep a separate photo record of sprinkler markers.
- Do not reuse official utility flags.
- Do not move public utility markings.
- Keep your sprinkler markers close to the heads they identify.
- Review the marked lawn with the crew before equipment enters the area.
USA North 811 asks homeowners and contractors to premark proposed excavation areas in white before submitting a request. Keep those premarking indicators separate from the flags used for sprinkler heads.
Check Sacramento Water Rules Before Adjusting Irrigation
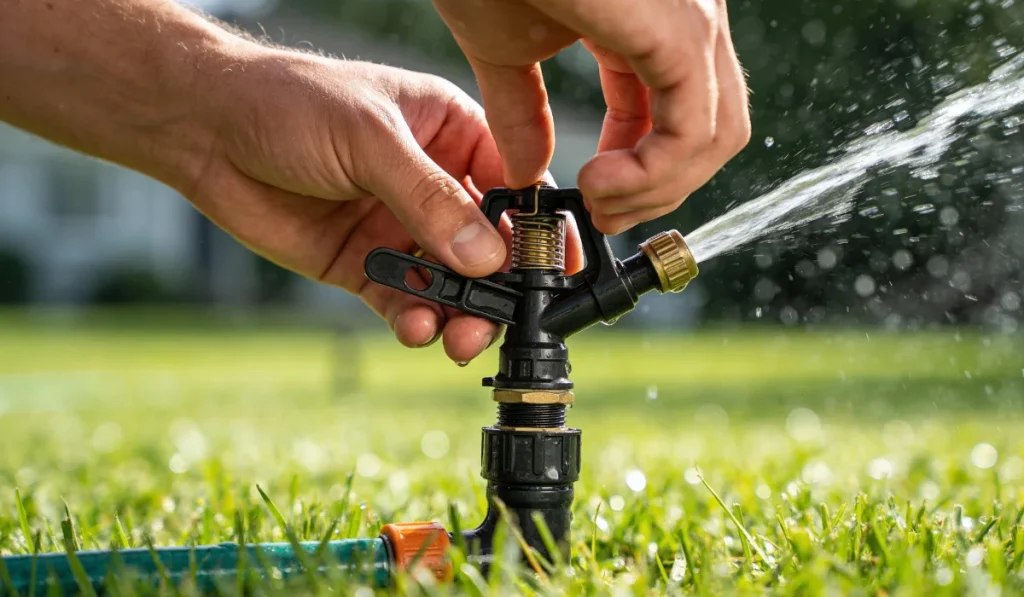
After lawn work, you may need to run the irrigation system for testing or adjust the watering routine for new sod.
The City of Sacramento water conservation page explains that the city has a year-round mandatory watering schedule. The page also includes water-saving resources, outdoor rebates, and the option to schedule a free visit with a water conservation specialist.
Check the current local schedule before making permanent changes to irrigation timing. Testing a system and maintaining a healthy lawn still require attention to runoff, overspray, and water waste.
Test the System Again After Lawn Work
Once the project is complete, run every irrigation zone again.
Compare the results with your original photos and notes.
Check for:
- Sprinkler heads that no longer rise
- New leaks
- Weak spray patterns
- Water pooling around repaired areas
- Overspray onto pavement
- Dry patches
- Heads buried by soil or sod
- Heads tilted by equipment
- Valve boxes covered during grading
Fix problems early. A damaged sprinkler can create uneven watering patterns that become more noticeable as the lawn grows.
For newly installed sod, review the watering plan regularly during establishment. Reduce watering frequency gradually as the roots become stronger.
Common Mistakes To Avoid
A few shortcuts can create unnecessary irrigation problems.
Avoid:
- Marking only the easiest sprinkler heads to see
- Skipping corners and narrow side yards
- Assuming all sprinkler heads work correctly
- Driving equipment across unmarked valve boxes
- Removing official utility flags before work ends
- Assuming 811 will mark private irrigation lines
- Installing sod before testing irrigation coverage
- Burying sprinkler heads beneath new soil or turf
- Raising the grade without checking spray height
- Digging blindly for a missing sprinkler head
A short inspection before work begins is usually easier than repairing an irrigation system after the lawn has been disturbed.
When To Call an Irrigation Professional
Some projects need more than visible flags and a basic map.
Consider professional help when:
- Several heads do not rise
- A zone loses pressure
- Water pools beneath the soil
- The lawn has dry sections despite regular irrigation
- Grade changes will affect sprinkler height
- New sod installation requires irrigation adjustments
- Pipes may cross an excavation area
- Valve boxes are missing or buried
- Private irrigation lines need to be located
- The system layout is unclear
An irrigation contractor can inspect the system, identify damaged components, and help determine whether heads need to be moved or adjusted before lawn work begins.
Build a Simple Pre-Project Checklist
Before the first tool or machine enters the lawn:
- Run every irrigation zone.
- Flag each sprinkler head.
- Mark valve boxes and visible irrigation components.
- Take photos.
- Draw a basic irrigation map.
- Identify the lawn-work boundary.
- Submit an 811 request before digging.
- Confirm utility responses.
- Explain the sprinkler markers to the contractor.
- Test the irrigation system again after the work is complete.
This process protects the lawn, reduces avoidable repairs, and gives the project team a clearer view of the yard before work begins.
Plan Your Sacramento Lawn Project With SodLawn
Marking sprinkler heads is one of the simplest ways to protect an irrigation system before lawn replacement or repair.
If your Sacramento lawn needs a larger refresh, SodLawn provides sod delivery and professional installation for residential and commercial properties. Enter your ZIP code to compare sod varieties available near your Sacramento property and plan the next step for your yard.
Frequently Asked Questions
How Do I Mark Sprinkler Heads in a Lawn?
Run one irrigation zone at a time and place a tall landscape marker beside each sprinkler head as it rises. Mark valve boxes and other visible irrigation components as well. Take photos and create a basic zone map before lawn work begins.
Should I Mark Sprinkler Heads Before Aerating?
Yes. Aeration equipment can damage sprinkler heads that are difficult to see. Flag every head and walk through the lawn with the equipment operator before aeration starts.
Does 811 Mark Sprinkler Lines?
No. USA North 811 states that private utility lines, including landscape irrigation, are not marked because they are not owned by a utility. An irrigation contractor or private locating service may be needed for underground sprinkler lines.
Do I Need To Contact 811 for Shallow Digging?
Yes. USA North 811 advises contacting the service before digging, regardless of depth, because some underground lines sit close to the surface.
Should Sprinkler Heads Be Tested Before New Sod Is Installed?
Yes. Run each irrigation zone after old turf is removed and before new sod is laid. Repair leaks, improve coverage, and adjust head height before installation.
What Should I Do if a Sprinkler Head Is Buried?
Mark the area and avoid digging blindly. Run the irrigation zone and look for bubbling water, soft soil, or weak spray. If the location remains unclear, ask an irrigation professional to inspect the system.