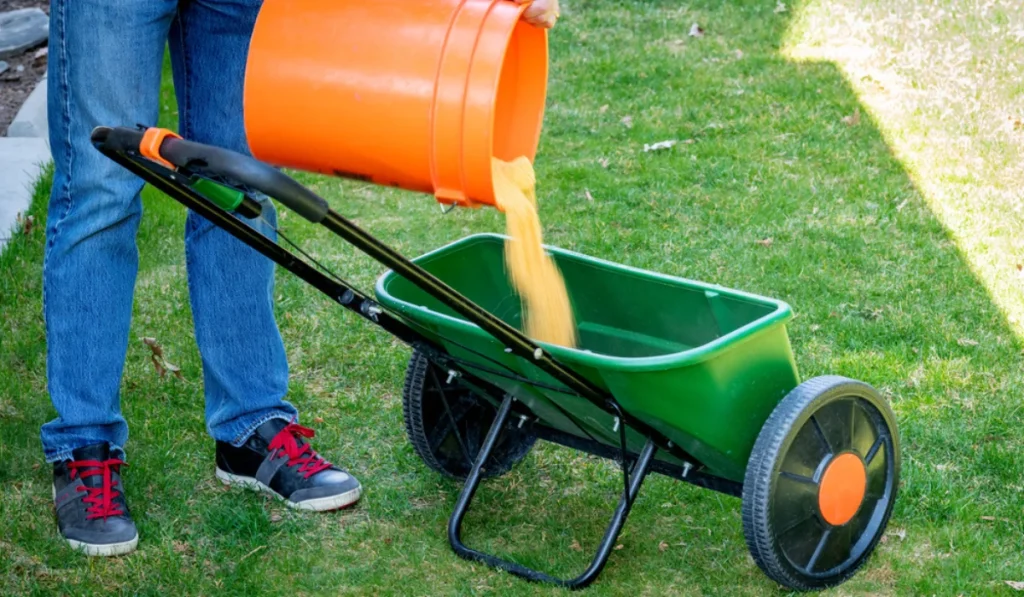
A fertilizer spreader can make lawn care faster and more consistent, but the setting printed on a fertilizer bag should be treated as a starting point. Walking speed, equipment condition, spreader type, and the product’s granule size can all affect how much material reaches the grass.
Spreader calibration for fertilizer helps you apply the intended amount without leaving pale strips, dark green overlap lines, or burned patches. The process is straightforward: measure the lawn, calculate the amount of product needed, test the spreader on a plastic sheet, weigh the collected granules, adjust the setting, and repeat the test until the output matches the target rate.
Key Takeaways
- Measure the lawn before opening the fertilizer bag.
- Use the fertilizer label to calculate how much product belongs on the lawn.
- Treat the manufacturer’s spreader setting as an initial estimate.
- Test the spreader on a plastic sheet before applying fertilizer to the grass.
- Walk at a steady pace during calibration and during the lawn application.
- Apply half of the fertilizer in one direction and the remaining half at right angles.
- Sweep fertilizer granules off sidewalks and driveways instead of washing them into the street.
- Follow San Diego watering and runoff rules after the application.
Why Spreader Calibration Matters
A spreader controls how much fertilizer reaches each section of the lawn.
When the opening is too wide, the turf may receive too much product. That can create excessive growth, dark green stripes, or fertilizer burn. When the setting is too low, the lawn may receive less fertilizer than intended, producing uneven color or disappointing results.
The UC Guide to Healthy Lawns explains that excess nitrogen can push shoot growth while slowing root growth. Turf may become more vulnerable to stress when applications are too heavy or too frequent.
Calibration reduces guesswork. It also helps you avoid buying more fertilizer than the yard needs.
Understand the Difference Between Product Rate and Spreader Setting
The product rate tells you how much fertilizer should be applied to a specific lawn area.
The spreader setting controls how quickly granules leave the hopper.
These numbers are related, but they are not interchangeable.
For example, a fertilizer label may state that one bag covers 5,000 square feet. The spreader chart may suggest a specific setting for a common drop or broadcast spreader. That setting helps you begin the calibration test. It does not guarantee that your equipment will release the correct amount.
Walking speed, wear, residue, and granule size can change the output.
Start by Measuring the Lawn
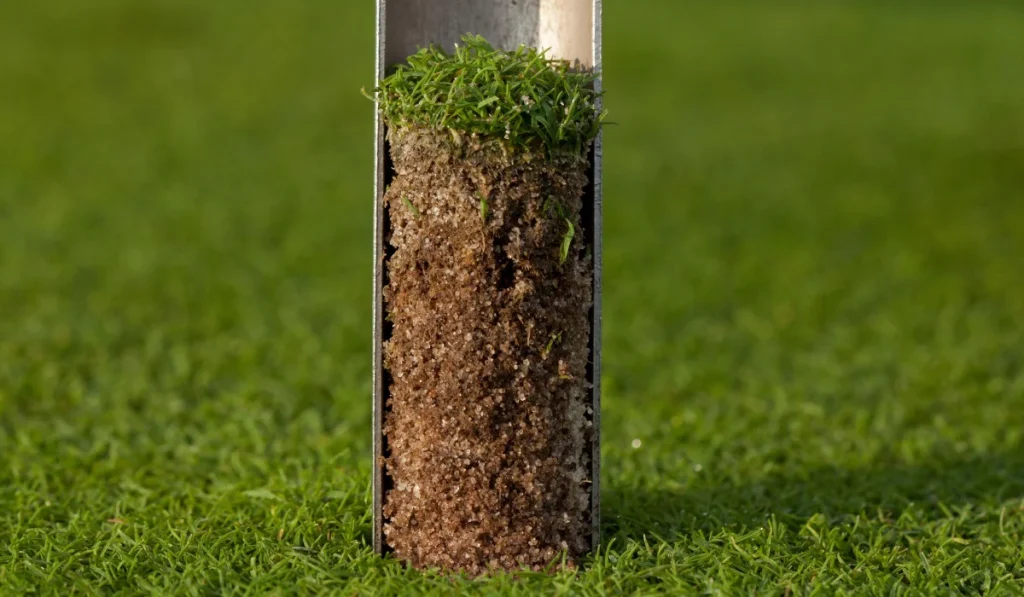
Accurate calibration begins with the lawn area.
Measure each section separately. For a rectangular section, multiply the length by the width. For an irregular yard, divide the lawn into smaller shapes and add the totals together.
Subtract areas that will not receive fertilizer, such as:
- Patios
- Driveways
- Sidewalks
- Planting beds
- Gravel sections
- Pools
- Decks
Record the final square footage before calculating the fertilizer amount.
SodLawn’s San Diego sod page includes a lawn-area calculator for properties that need sod delivery, installation, or a larger turf renovation.
Read the Fertilizer Label Carefully
The label provides the information you need to calculate the application.
Look for:
- The lawn area covered by the bag
- The N-P-K ratio
- The recommended application rate
- The suggested spreader setting
- Watering instructions
- Storage guidance
- Safety directions
- Restrictions for new sod or stressed turf
The three numbers in the N-P-K ratio represent nitrogen, phosphorus, and potassium.
A fertilizer labeled 20-5-10 contains:
- 20 percent nitrogen
- 5 percent phosphorus
- 10 percent potassium
Nitrogen supports leaf growth and lawn color. Turf needs nitrogen regularly, but applying too much can damage the grass.
Calculate the Correct Product Amount
UC IPM recommends applying no more than one pound of actual nitrogen per 1,000 square feet during one application.
The fertilizer label should guide the final rate, but understanding the calculation helps you check whether the amount makes sense.
Use this formula:
Product amount needed = target nitrogen amount ÷ nitrogen percentage
For example, a 20-5-10 fertilizer contains 20 percent nitrogen.
To apply one pound of actual nitrogen per 1,000 square feet:
1 ÷ 0.20 = 5 pounds of fertilizer product per 1,000 square feet
For a 500-square-foot lawn section, the matching amount would be:
5 × 0.5 = 2.5 pounds of fertilizer product
Do not exceed the label rate. Use a lower rate when the label, grass type, season, or lawn condition calls for one.
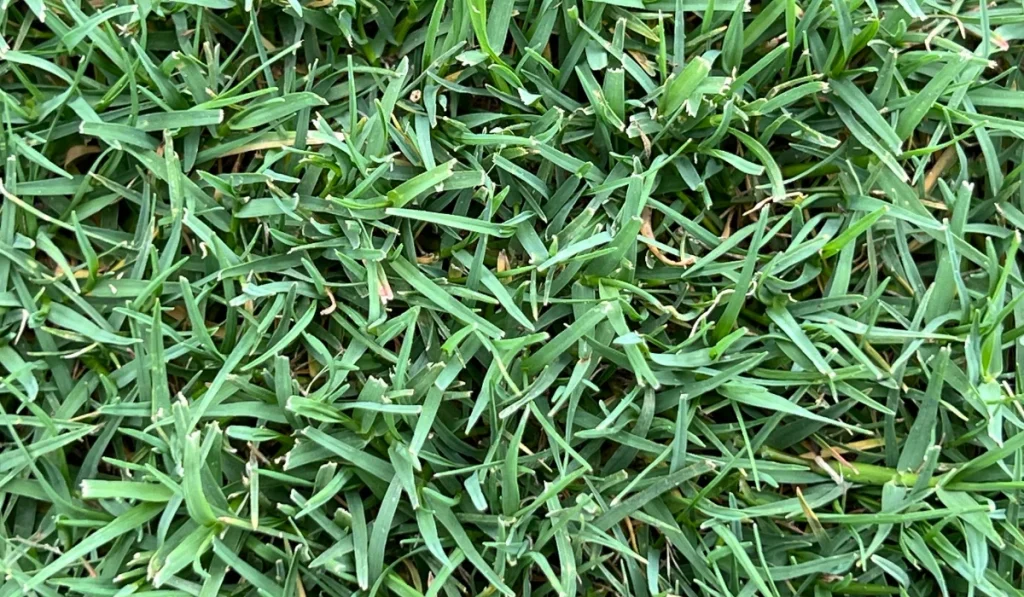
Know Your Spreader Type
Homeowners usually use a drop spreader or a broadcast spreader for dry granular fertilizer.
Drop Spreader
A drop spreader releases granules directly beneath the hopper.
This design gives you more control near sidewalks, planting beds, and narrow lawn strips. It also makes the application width easier to see.
A drop spreader can work well for smaller lawns or areas where keeping fertilizer off hard surfaces matters.
Broadcast Spreader
A broadcast spreader throws granules outward in a wider pattern.
This design covers larger lawns more quickly, but it requires more care near sidewalks, driveways, and storm drains.
Overlap and walking speed matter because the product spreads beyond the wheel path.
Hand Application
UC IPM notes that scattering fertilizer by hand is less efficient and less accurate than using a mechanical spreader.
Use a spreader whenever possible for a full lawn application.
Gather the Calibration Supplies
You can calibrate a lawn spreader with a few simple items:
- A clean plastic sheet or tarp
- A tape measure
- A scale
- A container for collecting granules
- The fertilizer product
- A broom
- The spreader
Choose a dry, calm day. Complete the test on a flat outdoor surface such as a driveway.
Keep children and pets away from the calibration area.
How to Calibrate a Spreader for Fertilizer
UNH Extension recommends testing the spreader rather than relying only on the printed setting.
Step 1: Measure the Test Area
Spread the plastic sheet or tarp across a flat surface.
Measure its length and width. Multiply those numbers to find the square footage.
For example:
20 feet × 25 feet = 500 square feet
Step 2: Calculate the Target Amount for the Test Area
Use the product label and your lawn-rate calculation.
If the intended application is five pounds of product per 1,000 square feet, a 500-square-foot test area should receive:
5 × 0.5 = 2.5 pounds of product
Record the target amount before beginning.
Step 3: Set the Spreader
Use the setting listed on the fertilizer bag for your spreader model when available.
Treat that number as a starting point.
If no setting is listed, choose a middle-range opening and prepare to adjust it after the first test.
Step 4: Walk Across the Plastic Sheet
Fill the hopper with enough fertilizer for the test.
Walk at your normal mowing pace. Keep the speed steady from start to finish.
Apply the product across the measured sheet as evenly as possible.
Step 5: Collect and Weigh the Fertilizer
Gather the granules from the plastic sheet and place them into the container.
Weigh the collected fertilizer. Subtract the empty container weight if needed.
Compare the result with the target amount.
Step 6: Adjust and Repeat
If the spreader released too much product, reduce the opening.
If it released too little, increase the opening.
Repeat the test until the amount collected matches the intended product rate closely.
Write down the final setting, product name, and walking pace for future applications.
Keep Your Walking Pace Consistent
Walking speed changes the application rate.
If you walk slowly, the spreader releases more fertilizer over a smaller area. If you speed up, the same amount of product covers more ground.
Choose a comfortable pace during calibration and use that same pace on the lawn.
Avoid stopping in the middle of the turf with the spreader open. Close the hopper before pausing, turning, or crossing pavement.
Apply Fertilizer in Two Directions
UC IPM recommends applying half of the required fertilizer in one direction and the remaining half at right angles to the first passes.
For example:
- Apply half of the fertilizer while walking north to south.
- Apply the remaining half while walking east to west.
This pattern helps reduce stripes and missed sections.
Overlap wheel marks slightly. Avoid heavy overlap, especially with broadcast spreaders.
Fertilize the Edges Carefully
Edges require more control because fertilizer can land on sidewalks, driveways, patios, and streets.
UC IPM recommends fertilizing lawn edges first, then applying the remaining product across the center of the lawn.
Turn the spreader off before:
- Crossing a sidewalk
- Walking onto a driveway
- Turning around
- Refilling the hopper
- Stopping to move an obstacle
Use a drop spreader or a lower-output edge setting when the lawn sits beside hardscape.
Fill the Spreader Over a Hard Surface
Do not fill the hopper directly over the lawn.
UC IPM recommends pouring fertilizer into the spreader over a driveway or another cement area where spills can be swept up.
A concentrated pile of granules can burn the turf.
After filling the hopper:
- Check the driveway for spills.
- Sweep the granules into a container.
- Return clean, dry product to the original bag when appropriate.
- Follow the label for disposal if the material becomes contaminated.
Never wash fertilizer into the gutter.
Protect San Diego Storm Drains
Fertilizer should stay on the lawn.
The City of San Diego landscaping waste guidance explains that fertilizers, pesticides, herbicides, sediment, and landscape debris must not enter the municipal storm-drain system.
Use these precautions:
- Sweep granules off sidewalks and driveways.
- Keep fertilizer away from curbs and gutters.
- Avoid applying fertilizer before heavy rain.
- Stop irrigation before runoff begins.
- Repair overspray.
- Store leftover fertilizer in its original container.
- Clean the spreader where wash water will not enter the street.
San Diego storm drains can carry runoff toward local waterways without the treatment used for household wastewater.
Follow San Diego Watering Rules
For properties served by the City of San Diego Public Utilities Department, year-round water-use restrictions apply.
The City of San Diego water-use restrictions page states that:
- Outdoor landscape watering must take place before 10:00 a.m. or after 6:00 p.m.
- Irrigation must not create runoff onto walkways, roadways, parking areas, structures, or neighboring properties.
- Potable-water irrigation is prohibited during and within 48 hours after measurable rainfall.
- Leaks must be repaired promptly.
If the property receives a water bill from a different agency, check that provider’s current rules.
Plan the fertilizer application so any label-required watering fits the applicable schedule.
Water the Lawn Correctly Before and After Fertilizing
UC IPM recommends deeply irrigating the lawn a few days before applying fertilizer. The soil should be moist, while the grass blades should be dry during the application.
After spreading dry fertilizer, irrigate according to the label so the granules move from the leaf surface into the soil.
Avoid turning the sprinklers on for an unnecessarily long cycle.
If water begins moving toward the sidewalk, stop the irrigation and use shorter cycles with pauses between them.
Avoid Fertilizing Wet Grass Blades
Wet grass can hold dry fertilizer granules on the leaf surface.
That can contribute to uneven distribution and turf injury.
Wait until:
- Morning dew has dried
- Irrigation moisture has evaporated from the blades
- Rain has passed
- The lawn surface is stable enough to walk across
Moist soil is useful. Wet leaves are not.
Watch for Signs of Poor Calibration
Inspect the lawn after the application.
Look for:
- Dark green stripes
- Pale sections
- Brown lines
- Patchy growth
- Overlap marks
- Granules left on the blades
- A burned patch near the filling area
- Fertilizer on pavement
- Runoff
- Uneven growth during the following days
Poor calibration often leaves a visible pattern.
If a spill occurs, remove the excess granules when practical and follow the product label for watering. Do not apply additional fertilizer to correct the first application.
Avoid Applying Too Much Nitrogen
UC IPM recommends smaller applications during the active growing season rather than large, infrequent doses.
Overfertilization can create:
- Rapid top growth
- More mowing
- Higher water demand
- Thatch buildup
- Fertilizer burn
- Weak roots
- Uneven lawn color
- Greater stress during dry periods
A calibrated spreader helps you stay within the product rate and avoid unnecessary applications.
Adjust for Drought and Shade
A fertilizer routine should reflect the lawn conditions.
UC IPM recommends applying nitrogen lightly and infrequently under drought conditions to avoid lush growth and reduce water use.
Shaded lawns may also need less nitrogen than sunny areas.
Before fertilizing, inspect:
- Soil moisture
- Sun exposure
- Recent weather
- Grass type
- Recent fertilizer history
- Irrigation coverage
- Mowing height
- Bare patches
- Signs of stress
Do not apply more fertilizer automatically because the lawn looks pale.
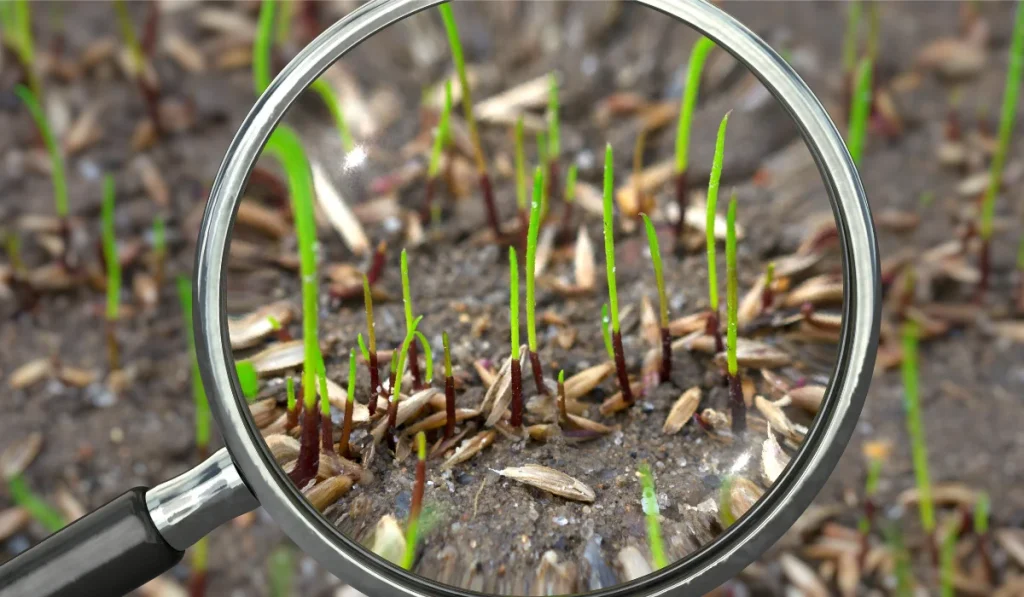
Use Extra Care With New Sod
New sod needs a different fertilizer routine than an established lawn.
Fresh turf is still developing roots in the prepared soil. Avoid beginning a regular nitrogen program too early.
The UC IPM guide to new-lawn care recommends beginning regular nitrogen fertilization around six weeks after laying sod, plugs, sprigs, or stolons.
During establishment:
- Follow the care instructions for the sod variety.
- Keep the root zone moist without creating runoff.
- Check sprinkler coverage.
- Limit foot traffic.
- Wait until the sod roots before mowing.
- Avoid overapplication.
- Use starter fertilizer only when appropriate for the project.
SodLawn provides farm-fresh sod delivery and installation in San Diego and lets customers enter a ZIP code to compare varieties available near the property.
Choose the Right Fertilizer for the Lawn
A calibrated spreader cannot fix an unsuitable fertilizer choice.
Before buying a product, consider:
- The turf variety
- The season
- Soil conditions
- Whether the lawn is established or newly installed
- Recent fertilizer applications
- Shade
- Drought stress
- The product’s nitrogen source
- The application rate
Slow-release nitrogen can provide a steadier feeding pattern. Quick-release fertilizer can create a faster response but needs careful measurement and application.
Read the label before choosing a product.
Clean and Store the Spreader Properly
After the application:
- Return unused dry fertilizer to the original container.
- Sweep pavement.
- Clean the spreader according to the manufacturer’s instructions.
- Prevent rinse water from entering gutters or storm drains.
- Allow the equipment to dry.
- Store the spreader in a protected area.
- Record the product and final calibration setting.
Check the hopper opening before the next application. Residue, corrosion, and mechanical wear can change the output over time.
Recalibrate When Conditions Change
A saved setting can help with future lawn care, but recalibration still matters.
Test the spreader again when:
- You switch fertilizer products
- Granule size changes
- You buy a new spreader
- Equipment parts wear down
- The spreader has been repaired
- The lawn area changes
- The previous application left stripes
- You adjust your walking pace
- The spreader has not been used recently
Do not assume one setting works for every bag.
Avoid Common Spreader Mistakes
Avoid these shortcuts:
- Applying fertilizer without measuring the lawn
- Trusting the printed spreader setting without testing it
- Filling the hopper over the grass
- Walking at an inconsistent pace
- Leaving the hopper open during turns
- Applying the full rate in one direction
- Overlapping passes too heavily
- Spreading granules onto pavement
- Washing fertilizer into the gutter
- Fertilizing before heavy rain
- Applying fertilizer to wet grass blades
- Feeding drought-stressed turf aggressively
- Fertilizing new sod too soon
- Forgetting to recalibrate after switching products
A short calibration test can prevent uneven color, turf damage, and wasted fertilizer.
Build a Simple Calibration Checklist
Use this routine before applying dry fertilizer:
- Measure the lawn.
- Read the fertilizer label.
- Calculate the product amount.
- Identify the spreader type.
- Measure a plastic test sheet.
- Calculate the target amount for the test area.
- Use the printed spreader setting as the starting point.
- Walk across the sheet at a steady pace.
- Collect and weigh the released fertilizer.
- Adjust the spreader.
- Repeat the test when needed.
- Record the final setting.
- Apply half the product in one direction.
- Apply the remainder at right angles.
- Sweep pavement.
- Water according to the label and local rules.
- Stop before runoff begins.
- Inspect the lawn after application.
Know When To Ask for Professional Help
Professional support may be useful when:
- The lawn has repeated fertilizer burn
- The spreader will not release granules evenly
- The grass type is unclear
- The lawn has widespread discoloration
- Irrigation coverage remains uneven
- Runoff is difficult to control
- New sod needs a feeding plan
- The yard contains steep slopes
- Several lawn problems overlap
- A broader turf renovation is planned
A lawn-care professional can help identify whether the issue comes from calibration, fertilizer choice, irrigation, mowing, soil conditions, or a combination of factors.
Refresh Your San Diego Lawn With SodLawn
Spreader calibration for fertilizer helps protect an established lawn from striping, overapplication, and unnecessary stress.
If an older lawn has developed large bare or damaged areas, correct the fertilizer and irrigation issues before replacing the turf. SodLawn offers sod delivery and professional installation throughout San Diego County. Enter your ZIP code to compare sod varieties available near your property and plan your lawn project.
Frequently Asked Questions
What Is Spreader Calibration for Fertilizer?
Spreader calibration is the process of testing how much granular fertilizer a spreader releases over a measured area. The goal is to match the equipment output to the product rate listed on the label.
Can I Use the Setting Printed on the Fertilizer Bag?
Use it as a starting point. Walking speed, equipment condition, and granule size can change the actual output. Test the spreader before applying fertilizer to the lawn.
How Do I Test a Fertilizer Spreader?
Measure a plastic sheet, calculate the fertilizer amount required for that area, apply granules across the sheet at a steady pace, collect the product, weigh it, and adjust the spreader setting until the output matches the target.
Should I Use a Drop Spreader or a Broadcast Spreader?
A drop spreader offers more control near sidewalks and narrow areas. A broadcast spreader covers larger lawns more quickly but requires more care near hard surfaces and lawn edges.
How Much Nitrogen Can I Apply at One Time?
UC IPM recommends applying no more than one pound of actual nitrogen per 1,000 square feet during one application.
Why Should I Apply Fertilizer in Two Directions?
Applying half of the fertilizer in one direction and the remaining half at right angles helps reduce stripes, missed areas, and heavy overlap.
Should I Fertilize Wet Grass?
No. UC IPM recommends applying dry fertilizer when the soil is moist and the grass blades are dry.
Can I Wash Fertilizer Off a Sidewalk?
No. Sweep granules from sidewalks and driveways. Do not wash fertilizer into San Diego gutters or storm drains.
When Can I Water After Applying Fertilizer in San Diego?
Follow the fertilizer label and the current rules for your water provider. For City of San Diego Public Utilities Department customers, outdoor landscape watering must occur before 10:00 a.m. or after 6:00 p.m., and irrigation must not create runoff.
Can I Fertilize Within 48 Hours After Rain in San Diego?
For properties served by the City of San Diego Public Utilities Department, potable-water irrigation is prohibited during and within 48 hours after measurable rain. Plan the fertilizer application so required watering follows the applicable rule.
Do I Need To Recalibrate Every Time I Buy Fertilizer?
Recalibrate when you switch products, use different granule sizes, repair the spreader, notice uneven results, or have not used the equipment recently. One setting does not fit every fertilizer bag.
Can I Use a Regular Fertilizer Routine on New Sod?
Wait until the sod has established. UC IPM recommends beginning regular nitrogen fertilization around six weeks after laying sod, plugs, sprigs, or stolons.