An irrigation system can appear to be working even when debris, sediment, or clogged components reduce water flow. A sprinkler head may spray weakly. One part of the lawn may stay dry while another becomes soggy. A drip line may deliver water unevenly across a planting bed.
Learning how to flush irrigation lines before summer can help you catch these problems before Sacramento temperatures rise and lawn watering becomes more demanding. The right process depends on the system. Lawn sprinkler zones, drip lines, filters, valves, and sprinkler heads each require a slightly different approach. Start with a careful inspection, flush one zone at a time, and call an irrigation professional when the problem involves buried leaks, damaged valves, or unfamiliar components.
Key Takeaways
- Inspect the irrigation system before summer watering demand increases.
- Open the irrigation main valve slowly to reduce sudden pressure changes.
- Run each zone separately and look for weak spray patterns, leaks, and dry areas.
- Clean clogged nozzles and filters before assuming the full line needs repair.
- Flush sprinkler zones one at a time so debris can leave the pipe.
- Open drip-line flush caps or end caps carefully and let water run until it appears clear.
- Keep flushed water on permeable areas and prevent runoff onto sidewalks or gutters.
- Follow Sacramento’s seasonal watering schedule when testing and adjusting the system.
- Test irrigation coverage before installing new sod.
- Contact an irrigation professional for backflow devices, buried leaks, damaged valves, or systems with an unclear layout.
Why Irrigation Lines Need To Be Flushed
Irrigation lines carry water through pipes, tubing, valves, sprinkler heads, and emitters. Over time, small particles can collect inside the system.
Debris may enter during:
- New irrigation installation
- Line repair
- Sprinkler-head replacement
- Soil disturbance
- Landscape renovation
- Sod removal
- Grading
- Seasonal startup
- Damage to buried pipes
- Filter failure
Rain Bird’s sprinkler-system installation guide recommends flushing pipes with water before attaching sprinkler heads. This step helps remove dirt that may have entered during installation.
Existing systems can also benefit from flushing when sprinkler heads clog repeatedly or water distribution becomes uneven.
A line flush does not solve every irrigation problem. It helps clear loose material from the system. Cracked pipes, damaged valves, poor pressure, incorrect sprinkler spacing, and broken heads need separate repairs.
Signs Your Irrigation System Needs Attention
You do not need to wait until a section of grass turns brown.
Run each irrigation zone and look for changes in performance.
Common warning signs include:
- Weak sprinkler pressure
- Heads that do not rise fully
- Sprinklers that spray unevenly
- Water bubbling from the soil
- Dry patches
- Water pooling around one head
- Nozzles that clog repeatedly
- Visible sediment inside filters
- Drip emitters with reduced flow
- Water spraying onto sidewalks
- A zone that continues leaking after it turns off
- A sudden drop in coverage
Hunter’s spring startup guide recommends checking each station for proper operation, pressure, sprinkler rotation, adjustment, and adequate coverage. It also advises cleaning filters on poorly performing sprinklers and adjusting heads to grade when needed.
A quick inspection can help you decide whether the system needs cleaning, flushing, repair, or professional attention.
Know Which Type of Irrigation System You Have
The phrase “irrigation lines” can refer to several different systems.
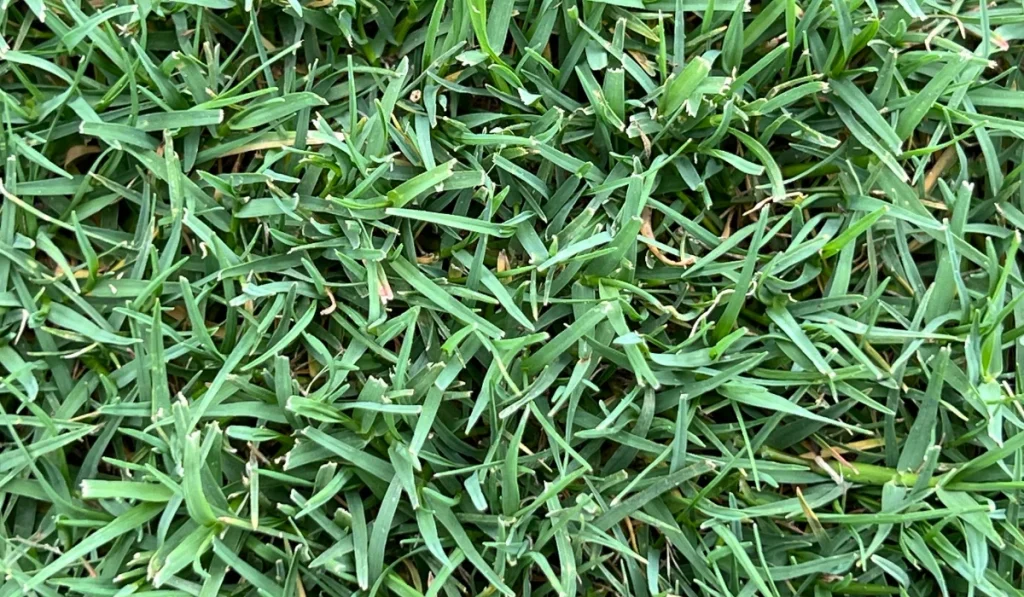
Lawn Sprinkler Zones
Traditional lawn systems usually send water through underground pipes to pop-up spray heads or rotors. Each zone turns on separately through a valve.
These systems may need flushing after repairs, installation, or repeated nozzle clogs.
Drip Irrigation Lines
Drip systems usually deliver water more slowly through tubing and emitters. They are often used for planting beds, shrubs, trees, and narrow landscape areas.
Drip lines commonly include:
- Tubing
- Emitters
- Filters
- Pressure regulators
- Flush caps
- End caps
- Connectors
A drip line may need periodic flushing when sediment or mineral buildup affects emitter flow.
Mixed Irrigation Systems
Some Sacramento yards use spray heads for the lawn and drip irrigation for planting beds.
Do not use the same maintenance method automatically for every zone. Identify the components before opening caps, removing nozzles, or changing settings.
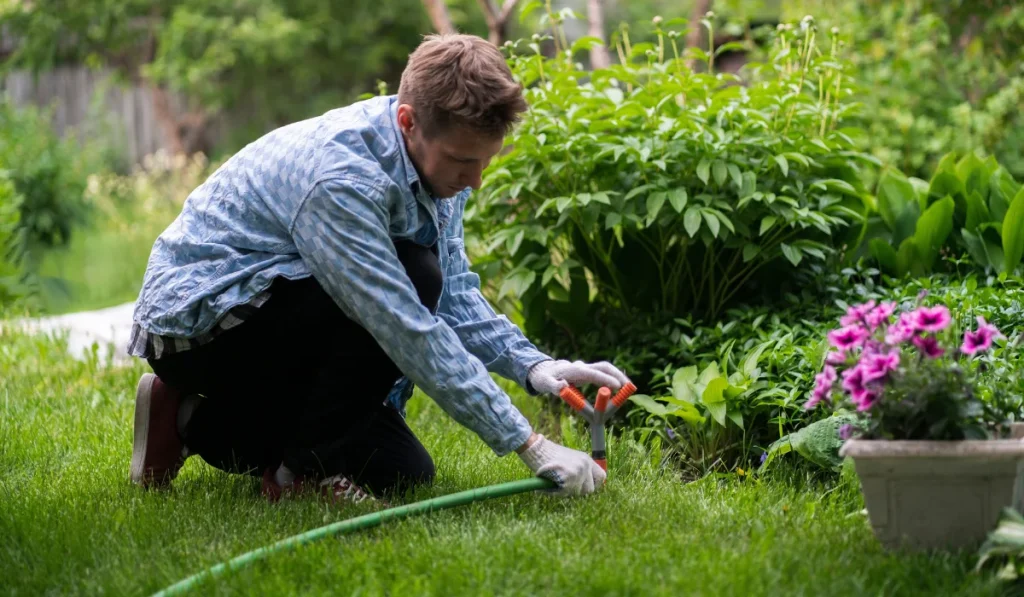
Start With a Visual Inspection
Before flushing anything, walk through the yard while the system is off.
Look for:
- Broken sprinkler heads
- Missing nozzles
- Tilted heads
- Heads buried beneath grass or soil
- Open drip-line connections
- Cracked tubing
- Loose fittings
- Wet spots
- Valve boxes
- Exposed pipes
- Areas affected by mowing or edging
- Irrigation components near planned sod work
Mark sprinkler heads with landscape flags if lawn renovation, aeration, or sod removal is planned.
Take photos and note which zone serves each section of the lawn. A simple map can make future maintenance easier.
Open the Main Valve Slowly
If the irrigation system has been shut off, restore water carefully.
Hunter advises opening the system’s main water valve slowly so the pipes fill gradually. Opening it too quickly can create high surge pressure, uncontrolled flow, or water hammer.
Use this approach:
- Confirm that the controller is off.
- Locate the irrigation-system shutoff valve.
- Open the valve gradually.
- Listen for unusual sounds.
- Check for leaks.
- Stop if water begins pooling or spraying from a damaged area.
If you are unsure which valve controls the irrigation system, ask an irrigation professional for help.
Do not disassemble a backflow-prevention device or unfamiliar valve assembly.
Run One Zone at a Time
Test each sprinkler zone separately.
Use the controller’s manual-run function or follow the system manufacturer’s instructions.
For each zone:
- Turn the zone on.
- Walk the full coverage area.
- Check whether every head rises.
- Look for weak spray patterns.
- Note dry sections.
- Watch for overspray.
- Check for water pooling.
- Turn the zone off.
- Record any problems before moving to the next zone.
Do not run every zone at once. Testing individually makes it easier to locate the source of a problem.
Clean Nozzles and Filters First
A weak spray pattern does not always mean the underground line is blocked.
Rain Bird’s sprinkler-head troubleshooting guide recommends checking clogged nozzles and filters when spray distance becomes too short, sprinkler coverage changes, or water begins misting.
Before flushing the full zone:
- Turn the irrigation zone off.
- Follow the manufacturer’s instructions for removing the nozzle.
- Remove the filter screen when accessible.
- Rinse the nozzle and screen with clean water.
- Inspect the parts for damage.
- Reinstall the cleaned components.
- Test the zone again.
If several nozzles clog repeatedly, the line may need flushing or the system may need better filtration.
How To Flush Lawn Sprinkler Lines
The exact method depends on the system design. Some zones have accessible flush points. Others require removing one or more sprinkler nozzles or heads so debris can exit.
Rain Bird recommends manually operating each valve to flush irrigation pipes during installation and attaching sprinkler heads after the debris has cleared.
For an existing sprinkler zone:
- Turn the controller off.
- Shut off water to the irrigation system if you need to remove parts.
- Identify the affected zone.
- Remove the appropriate nozzle, filter screen, sprinkler head, or flush cap based on the system design and manufacturer’s instructions.
- Keep dirt from falling into the exposed opening.
- Restore water slowly.
- Run the zone manually.
- Let water exit through the open point until visible debris has cleared and the water appears cleaner.
- Turn the zone off.
- Reinstall the cleaned components.
- Test the zone again.
- Check the spray direction and coverage.
Do not remove parts blindly from a system you do not understand.
An irrigation professional can help when:
- Several heads are clogged
- The system has no obvious flush point
- A line may be damaged underground
- Water pressure remains low after flushing
- The valve box is difficult to access
- The zone continues running after the controller turns off
How To Flush Drip Irrigation Lines
Drip systems need a different process.
Rain Bird’s drip-irrigation troubleshooting guide recommends periodically flushing drip systems to remove accumulated sediment.
Many drip systems include a flush cap or removable end cap.
Use this general routine:
- Turn the irrigation water off.
- Find the end of the drip line.
- Locate the flush cap or end cap.
- Place the open end where water can drain into a permeable area.
- Open the cap carefully.
- Restore water gradually.
- Run the drip zone.
- Allow water to flow until sediment clears and the water appears cleaner.
- Turn the zone off.
- Close and secure the cap.
- Test the line again.
- Check emitters for even flow.
Inspect the filter as well. A clogged filter can reduce flow across the full drip zone.
If the line lacks a clear flush cap, the tubing is buried, or the system layout is unclear, ask an irrigation professional to inspect it.
Keep Flushed Water Out of Gutters
Flushing can release water and debris, so plan where the discharge will go.
The City of Sacramento watering schedule states that wasting water is not allowed. Water should not run off the property onto sidewalks or gutters, and ponding is also prohibited.
Use these precautions:
- Direct flushed water toward a permeable area
- Avoid sidewalks and driveways
- Stop before water reaches the gutter
- Sweep sediment from hard surfaces
- Do not wash debris into storm drains
- Use shorter flushing intervals if the soil absorbs water slowly
- Pause when the ground becomes saturated
Flushing should improve system performance without creating runoff.
Follow Sacramento’s Seasonal Watering Schedule
Sacramento residents and businesses need to follow a seasonal sprinkler schedule.
From March 1 through October 31:
- Even-numbered addresses can water on Wednesdays and Sundays.
- Odd-numbered addresses can water on Tuesdays and Saturdays.
- Watering must take place before 10:00 a.m. or after 7:00 p.m.
- Watering is not allowed within 48 hours after at least one-eighth of an inch of rain.
From November 1 through February 28:
- Watering is allowed one day per week on Saturday or Sunday.
- Weekday watering is not permitted.
The city provides several exemptions, including new landscaping for up to 30 days after installation. However, runoff is not permitted at any time.
Schedule maintenance and testing carefully. If you are unsure whether a specific repair or flushing session fits the current restrictions, contact the City of Sacramento for guidance.
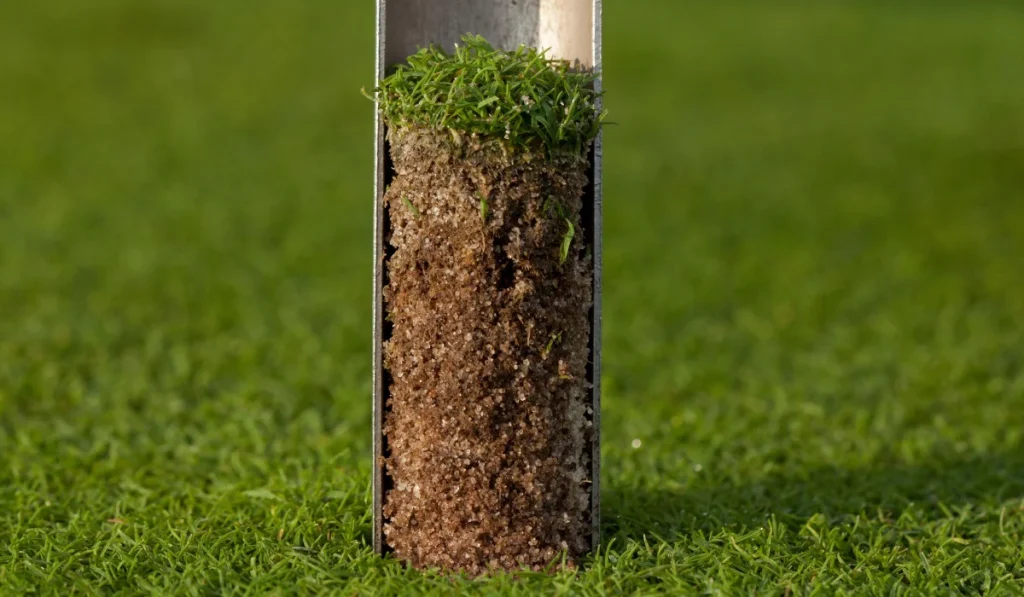
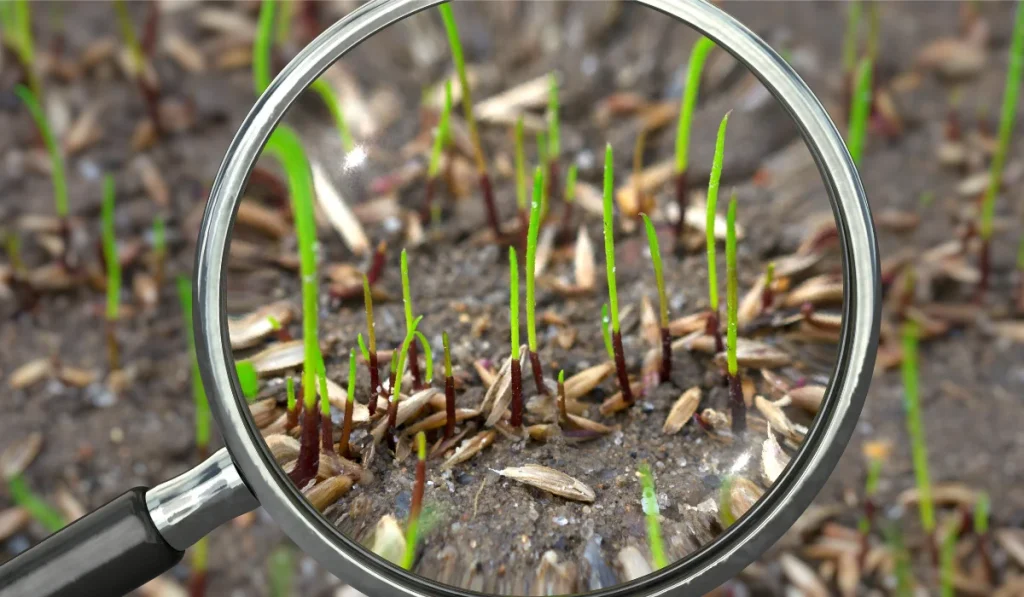
Flush Lines Before New Sod Installation
A new lawn needs even irrigation coverage from the first day.
Do not wait until fresh sod is installed to discover that one sprinkler zone has clogged nozzles, poor pressure, or a broken line.
Before laying sod:
- Run every irrigation zone.
- Flag sprinkler heads.
- Check for leaks.
- Clean nozzles and screens.
- Flush affected lines.
- Repair damaged components.
- Adjust sprinkler-head height.
- Correct overspray.
- Test coverage across the full lawn.
- Confirm the watering plan for the new turf.
SodLawn provides sod delivery and professional installation in Sacramento for homes, businesses, property managers, and landscaping projects. Its Sacramento page allows customers to enter a ZIP code and compare varieties available in their neighborhood.
A reliable irrigation system helps protect the sod while roots develop.
Check Sprinkler-Head Height Before Summer
Sprinkler heads that sit too low may become blocked by grass, soil, or thatch.
Heads that sit too high may be damaged by mower blades, wheels, edging equipment, or foot traffic.
Hunter recommends adjusting sprinkler heads to grade when needed.
Inspect each head for:
- Proper height
- Stable alignment
- Clean nozzles
- Clear spray paths
- Adequate pop-up movement
- Leaks
- Mower damage
- Grass or soil blocking the spray
Correcting a head-height problem can restore coverage without changing the irrigation runtime.
Watch for Low Pressure
Low pressure can reduce coverage across an irrigation zone.
Hunter notes that low pressure may indicate a line break or a missing sprinkler.
Possible causes include:
- A damaged underground line
- A missing sprinkler head
- A loose fitting
- A partially closed valve
- A clogged filter
- Too many heads on one zone
- A valve problem
- A pressure-regulator issue
Flushing may help when debris is present. It will not repair a cracked pipe or replace a missing head.
If pressure remains low after cleaning and flushing, schedule an irrigation inspection.
Do Not Ignore Ongoing Leaks
Some sprinkler heads release a small amount of residual water after a zone shuts off. Persistent leaking needs closer attention.
Hunter’s valve-leak guidance explains that ongoing leaks may result from low-head drainage or debris affecting a valve diaphragm.
Valve repair requires care.
Contact a professional when:
- A zone continues leaking for a long time after shutoff
- The controller is off but water still flows
- A valve box fills with water
- The system cycles unpredictably
- The diaphragm may need inspection
- You are unfamiliar with valve components
Avoid disassembling valves or backflow devices unless you have the correct instructions and experience.
Inspect Filters
Filters help keep sediment from reaching nozzles and emitters.
A dirty filter can reduce water flow across an entire zone.
Check filters when:
- Several emitters have weak flow
- Nozzles clog repeatedly
- The spray pattern becomes uneven
- Drip lines deliver water inconsistently
- Sediment appears after flushing
- The system has recently undergone repairs
Follow the manufacturer’s instructions for filter removal, rinsing, and reinstallation.
If debris returns quickly, ask an irrigation professional whether the system needs a different filtration setup.
Adjust the Controller Before Summer
Flushing is only one part of pre-summer irrigation maintenance.
After the system is clean and working correctly:
- Review each zone.
- Check the controller settings.
- Confirm the watering days.
- Adjust watering start times.
- Avoid midday irrigation.
- Watch for runoff.
- Use shorter cycles if the soil absorbs water slowly.
- Reduce watering after rain.
- Check the system again after the first full schedule runs.
Do not increase watering time automatically because one section looks dry.
A single dry patch may come from a clogged nozzle, tilted head, leak, or blocked spray path.
Use Cycle-and-Soak Irrigation When Needed
Some Sacramento lawns absorb water slowly.
Long watering cycles may cause runoff before moisture reaches the root zone.
Use shorter cycles with pauses between them when:
- Water begins moving toward sidewalks
- The soil is compacted
- The lawn sits on a slope
- Low spots collect water
- The soil surface becomes saturated quickly
- Clay-heavy soil absorbs water slowly
For example, if runoff begins after a few minutes, stop the system, allow the water to soak in, and run another short cycle later within the permitted watering window.
The right cycle length depends on the soil, slope, sprinkler type, and lawn conditions.
Aerate Compacted Soil
Flushing improves irrigation-system performance. It does not correct compacted soil.
Compaction can prevent water from moving into the root zone efficiently.
Look for:
- Water pooling quickly
- Hard soil
- Thin turf
- Heavy foot traffic
- Pet activity
- Repeated mower passes
- Soil disturbed during construction
- Runoff despite even sprinkler coverage
Aeration may help water enter compacted soil more effectively.
Mark sprinkler heads before aerating so the equipment does not damage the irrigation system.
Common Irrigation-Line Flushing Mistakes
Avoid these maintenance mistakes:
- Opening the main irrigation valve too quickly
- Flushing every zone at once
- Forgetting to turn the controller off before removing parts
- Removing sprinkler components without understanding the system
- Allowing dirt to fall into open pipes
- Ignoring clogged filters
- Directing flushed water onto pavement
- Letting water reach gutters
- Assuming flushing will repair a cracked pipe
- Ignoring persistent low pressure
- Disassembling backflow devices without professional guidance
- Installing new sod before testing irrigation coverage
- Increasing the runtime instead of repairing a damaged head
A careful process can prevent new problems during maintenance.
Build a Pre-Summer Irrigation Checklist
Use this checklist before Sacramento’s hotter months:
- Locate the controller and irrigation shutoff valve.
- Open the main valve slowly if the system has been off.
- Run each zone separately.
- Mark weak or damaged sprinkler heads.
- Clean nozzles and filter screens.
- Inspect drip emitters.
- Check flush caps and end caps.
- Flush affected lines.
- Keep discharge water on permeable areas.
- Repair leaks.
- Test pressure and coverage.
- Adjust sprinkler-head height.
- Review Sacramento watering restrictions.
- Update the controller schedule.
- Confirm that no runoff reaches sidewalks or gutters.
- Recheck the system before installing new sod.
A short inspection can help the lawn receive water more evenly throughout the summer.
Know When To Call an Irrigation Professional
Some irrigation work goes beyond routine cleaning.
Professional help makes sense when:
- A line may be broken underground
- A valve will not shut off
- The backflow device needs attention
- Several zones lose pressure
- The system layout is unclear
- Water bubbles from the soil
- A valve box stays flooded
- Drip lines remain clogged after flushing
- The controller behaves unpredictably
- New sod installation requires major irrigation changes
- Excavation is needed near buried utilities
If digging becomes necessary, contact USA North 811 before excavation begins. Utility markings do not replace a private irrigation map, but they help identify public utility lines in the project area.
Prepare Your Sacramento Lawn With SodLawn
A clean irrigation system gives a lawn a better chance of receiving even moisture during summer.
If dry patches, damaged turf, or an older lawn point to a larger renovation project, SodLawn provides sod delivery and professional installation in Sacramento. Enter your ZIP code to compare sod varieties available near your Sacramento property and plan your lawn refresh.
Frequently Asked Questions
How Often Should I Flush Irrigation Lines?
Flush lines when debris enters the system, after repairs or installation, when nozzles clog repeatedly, or when drip emitters deliver water unevenly. A pre-summer inspection is also a practical time to check whether flushing is needed.
How Do I Flush Lawn Sprinkler Lines?
Turn off the controller, identify the affected zone, remove the appropriate nozzle, head, or flush cap based on the system design, restore water slowly, and run the zone until visible debris clears. Reinstall the components and test the coverage.
How Do I Flush a Drip Irrigation Line?
Turn the water off, open the flush cap or end cap, restore water gradually, and let the line discharge until sediment clears. Close the cap and test emitter flow afterward.
Why Is My Sprinkler Pressure Low After Flushing?
Low pressure may result from a broken line, missing sprinkler head, clogged filter, partially closed valve, or another system issue. If cleaning and flushing do not restore coverage, contact an irrigation professional.
Can I Flush Irrigation Lines Before Installing New Sod?
Yes. Test and flush the irrigation system before sod installation so leaks, clogged nozzles, poor pressure, and uneven coverage can be corrected before the new lawn is laid.
Can Irrigation Runoff Reach the Sidewalk in Sacramento?
No. The City of Sacramento states that runoff onto sidewalks or gutters and ponding water are not permitted. Keep flushing discharge on permeable areas and stop before runoff begins.
What Are Sacramento’s Summer Watering Days?
From March 1 through October 31, even-numbered addresses can water on Wednesdays and Sundays. Odd-numbered addresses can water on Tuesdays and Saturdays. Watering must take place before 10:00 a.m. or after 7:00 p.m. Check the city’s current guidance before changing your schedule.
Should I Flush Lines if Only One Sprinkler Head Has a Weak Spray?
Clean the nozzle and filter screen first. If the problem continues or several heads in the same zone are affected, flush the line and inspect the system for additional issues.