To grow a healthy green lawn, the soil under your sod matters as much as the grass itself. Choosing the right topsoil for laying sod in California helps roots grow strong and keeps your lawn from turning thin or patchy. Because California has sandy, loamy, and clay soils, each yard needs a different soil setup.
Some homeowners skip soil prep before installing sod. Without sufficient soil depth and nutrients, new sod dries out quickly and struggles to root. A simple soil test and basic soil amendments set your lawn up for success.
This guide explains the best topsoil for California lawns, how to prep your yard, and how to care for new sod year-round.
Key Takeaways:
- Loamy soil rich in organic matter provides the best base for sod in California.
- Soil testing helps identify what nutrients or soil amendments your lawn needs.
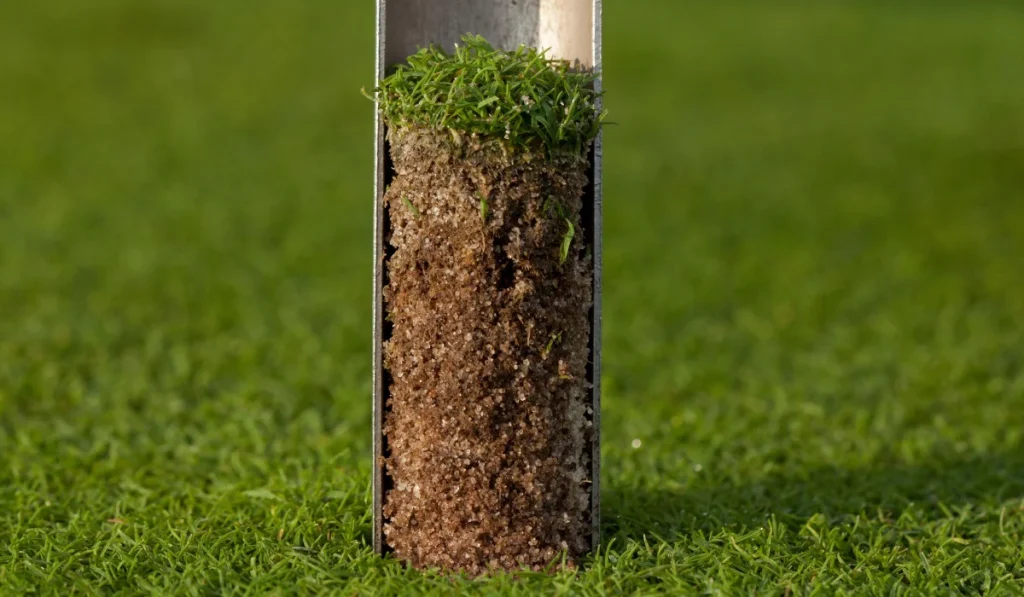
- A 4–6-inch layer of healthy topsoil encourages deep root growth and even water absorption.
- Proper watering, mowing, and lawn care practices protect your sod investment for years to come.
Understanding the Best Type of Soil for Laying Sod
The best topsoil for laying sod in California is loamy soil with balanced sand, silt, and clay. This soil drains well while holding enough moisture for steady root growth. In cities such as Fresno, San Diego, and Sacramento, native soil is often too sandy or too compacted with clay, which limits airflow and water movement.
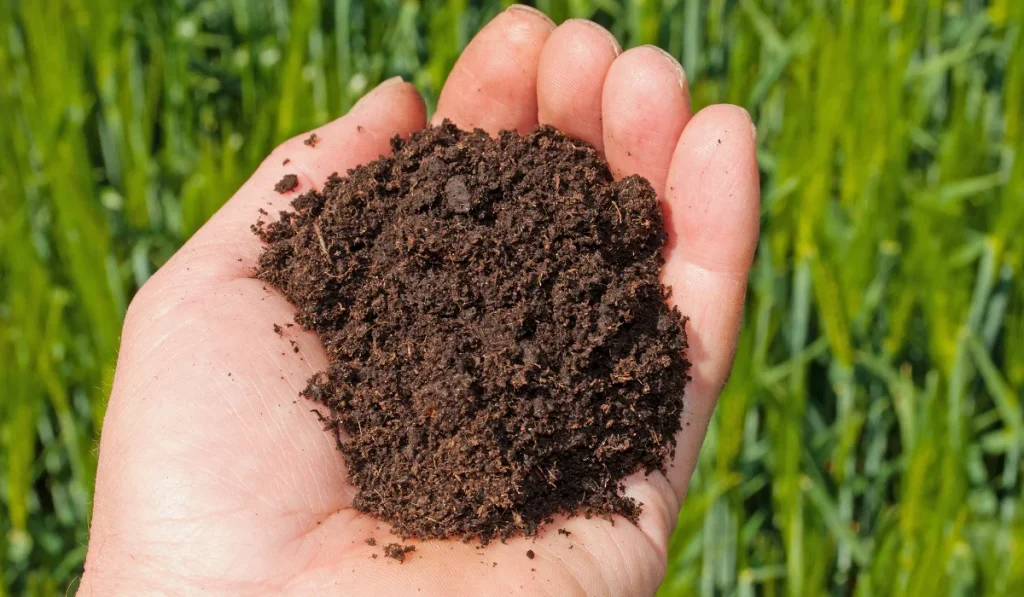
If you plan to install new sod, first evaluate your existing soil. In many cases, improving the soil before installation leads to stronger root growth and a healthier lawn. If your project allows it, consider bringing in 2–4 inches of clean topsoil blended with compost from a local bulk material supplier. They can often recommend a soil mix suited for lawn installation in your area.
If adding new topsoil is not possible, a simple soil test can help identify what your existing soil needs. The results can show nutrient levels, soil balance, and any amendments that should be incorporated before laying sod. This step helps create better growing conditions and can also guide your long-term lawn care plan.
A soil test from a garden center or the California Extension Service can also help identify problem areas and guide preparation before installation.
Preparing the Ground Before You Install Sod
You need to know how to prepare your soil before laying sod in California. Start by removing your old lawn with a sod cutter. You can also rototill existing vegetation into the soil, though SodLawn recommends killing it before rototilling.
Next, loosen the top 4 to 6 inches of soil until it is broken down and can be smoothed into an even surface. This helps create good contact between the soil and the new sod so roots can establish and grow.
After tilling, add your topsoil layer and mix in compost or mulch to increase the soil’s organic matter content. Apply soil amendments based on your soil test results; these may include gypsum for clay soils or lime to adjust pH. Level the soil with a rake, making sure it slopes slightly away from your driveway, walkway, or patios to prevent puddling.
This stage also helps DIY homeowners measure lawn size in square feet. Once the existing grass is removed and the soil is graded, the lawn’s full shape and boundaries are easier to see. This helps you calculate how much sod and starter fertilizer to order.
Accurate measurements help you order the right amount of sod and starter fertilizer.
Before installing sod, make sure the newly rototilled soil is properly compacted. In most cases, no compaction equipment is needed. A simple way to check is by walking across the graded soil.
If your footprints sink deeper than about 1/8 inch, the soil likely needs more compaction. If needed, lightly moistening the soil and using a rented water roller can help firm the surface and create a stable base for the sod.
Choosing the Right Sod for California Lawns
Once you’ve prepared your topsoil, the next step is choosing the best sod type for your region.
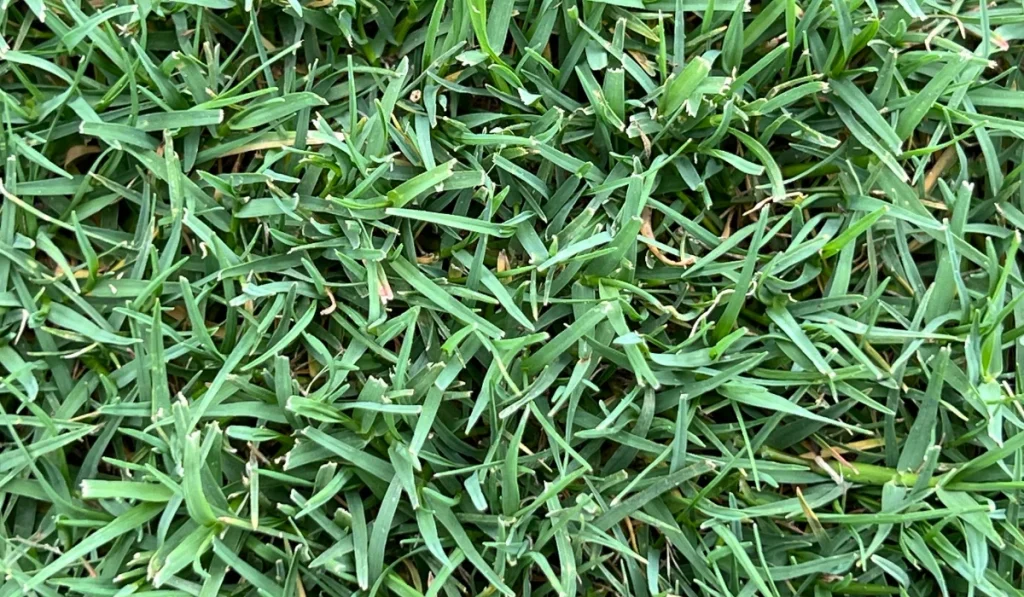
Cool-season grasses like Fescue sod have long been one of the most popular lawn choices across California because they stay green year-round and perform well in many coastal and inland climates.
In hotter, drier parts of the state where water availability is limited, many homeowners are shifting toward warm-season options like Bermuda grass, including TifTuf, which requires less water and thrives in full sun.
If you’re creating a new lawn in an area with heavy foot traffic—such as school grounds, parks, or sports fields—TifTuf bermudagrass is a strong performer. It resists wear and heat, which helps it hold up under frequent use.
For most residential backyards with kids and pets, TifTuf can still be a durable option, while fescue sod typically handles moderate foot traffic. Each of these sod types grows best in soil rich in organic matter with 4–6 inches of soil depth.
A solid topsoil base supports faster rooting for any sod type.
Watering and Early Lawn Care After Laying Sod
You need to follow a 4-week watering schedule for your new sod to ensure a healthy, green lawn. Keep the topsoil consistently moist by watering three times a day for the two weeks, then reduce to once daily as roots begin to take hold. Your irrigation system or sprinkler heads should provide even coverage across every square foot of sod.
After about two weeks, your new sod should have rooted enough to handle its first mowing. During the third week, begin watering once per day. By week four, the roots should be deep enough that you can start skipping days between watering.
A good rule to remember is to water deeply but less often. As roots grow deeper into the soil, your lawn becomes more resilient and better able to withstand dry conditions.
For Fescue lawns, the grass is usually ready for its first mowing about two weeks after installation, when it reaches roughly 3 inches tall. Use sharp mower blades and cut no more than one-third of the grass height.
Continue basic lawn care, such as fertilizing and overseeding, as needed.
Maintenance Tips for Long-Term Sod Health
Healthy topsoil continues to make a difference long after sod installation. According to the University of California Agriculture and Natural Resources, taking care of an established lawn requires a maintenance program with your lawn’s specific situation in mind.
Over time, replenish organic matter by topdressing your lawn with compost each spring. Aerate compacted areas to improve drainage and allow air to reach the roots.
Avoid walking on new sod for at least three weeks. Once the roots have grown firmly into the soil, mow regularly and apply seasonal fertilizer to maintain color and density.
Adjust your sprinkler system to prevent dry spots or water pooling. If your lawn thins or fades, run a soil test to identify nutrient deficiencies and apply amendments as needed.
These steps help protect your lawn area and improve curb appeal.
Making the Right Topsoil Choice for Your California Lawn
Choosing the right topsoil sets the stage for a lawn that establishes quickly and performs well over time. A thoughtful soil setup reduces future problems and makes ongoing lawn care easier.
At SodLawn, we support homeowners with reliable sod and soil options backed by local experience. If you’re ready to install sod or need help selecting the right soil type for your area, contact us today.
FAQs
What type of topsoil should California homeowners use for new sod?
California homeowners should use a loamy topsoil rich in organic matter. This blend supports deep root growth, drains well, and provides the nutrients new sod needs to establish quickly.
How deep should topsoil be before laying sod in California?
For most California lawns, 4 to 6 inches of healthy topsoil is ideal. A soil layer at this depth supports even root spread and better moisture retention during dry weather.
Can I install new sod over existing grass in California?
We don’t recommend installing new sod over existing grass. Old lawns can block root contact with the soil and prevent proper sod installation. Use a sod cutter to remove old turf and till the area before adding topsoil and laying new sod.