Sodding a sloped or uneven lawn comes with challenges that flat yards don’t face, like water runoff, erosion, and uneven root establishment. But with the proper preparation and techniques, you can lay sod that thrives even on tricky terrain.
Whether you’re tackling a steep hill behind your home in Temecula or smoothing out low spots in a front yard in Fresno, the process is doable with the right approach.
Below, we’ll walk you through a step-by-step guide tailored for California homeowners who want to transform uneven ground into a lush, stable, and thriving lawn.
Key Takeaways
- A sloped or bumpy yard needs grading, drainage fixes, and topsoil work before the sod can grow strong.
- Grass types like TifTuf, fescue, or zoysia handle slopes better due to their thick roots and extensive spread.
- Sod works best when installed from the bottom, tightly pressed together, and anchored with sod staples if needed.
- Watering, mowing, and seasonal care help your lawn stay green, even if the ground underneath isn’t perfectly flat.
Assess Your Lawn’s Slope and Condition
Before laying sod, take a careful look at your yard’s layout. Walk the area and note any sharp inclines, drainage paths, and depressions.
- On steep slopes, water tends to move quickly, which can lead to runoff and root issues.
- On bumpy terrain, grass sod may not root evenly, and low spots can accumulate excessive moisture.
Identifying these areas early helps you know where to make changes, like reshaping a slope or adding topsoil, before you start sod installation.
Choose the Right Turfgrass for Your Conditions
Not all sod types work equally well on slopes or uneven ground. You’ll want a variety with a dense root system that can grip the soil and recover well from movement or wear.
Bermudagrass varieties, such as TifTuf, are well-suited for sun-drenched hillsides, while zoysia offers improved shade tolerance and enhanced soil stability.
If you’re working in Southern California’s hotter zones, St. Augustine might also be a good fit, thanks to its hardiness and spreading growth habit.
Test and Prepare Your Soil
A soil test is a must, especially when working with sloped terrain. It tells you if your lawn needs pH adjustments or nutrients before installing new sod. Once you know what you’re working with, till the ground to loosen compacted areas, and add amendments if needed.
For uneven areas, fill low spots with a mix of sand and topsoil to create a more even base. This also helps avoid future pooling or soggy patches.
Improve Drainage and Control Erosion
On slopes, gravity can quickly wash away water and soil. To reduce this risk, consider installing erosion control measures, such as a light mulch layer or biodegradable netting, under the sod.
You can also redirect water flow using landscaping features like swales, terraces, or retaining walls. This ensures that water soaks into the ground slowly rather than rushing downhill.
In newly developed areas or places with clay-heavy soil, proper drainage preparation goes a long way toward achieving a stable lawn.
Grade and Compact Your Base
After soil prep, use a grading rake to even out the surface and create a slight pitch away from buildings to direct water flow properly.
Compact the area with a roller to minimize air pockets and create a firm base for the sod to root into. While you want the ground level, avoid making it too hard. Your sod needs enough softness to let roots settle and grow.
In areas where dips or high points remain, re-grade those areas before proceeding.
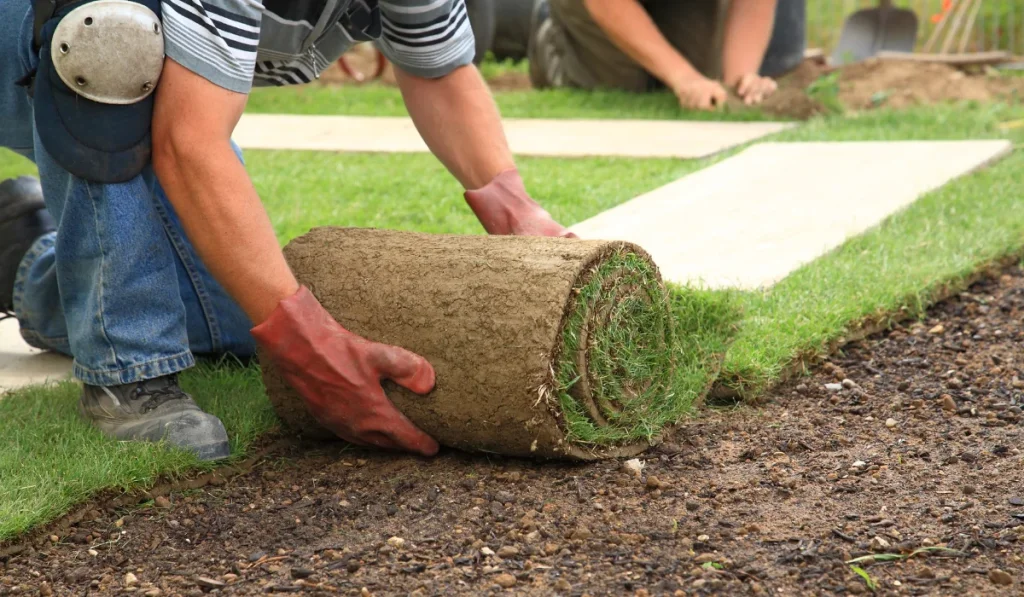
Install Sod Strategically, Starting From the Bottom
When laying sod on a slope, begin at the bottom and work your way up. This allows each row to support the next and prevents the pieces of sod from slipping downhill.
Stagger the joints like bricks to avoid long seams where water can gather and undermine the turf. Ensure the rolls of sod are pressed tightly together, with no overlaps or gaps.
Use sod staples in steep or loose areas to keep your new lawn from shifting during early establishment.
Water Gently and Frequently at First
Watering sloped or uneven lawns requires more attention than flat yards.
Start with short, frequent watering sessions to keep the topsoil moist and encourage root establishment without causing runoff. Early mornings are best to minimize evaporation.
Once the root system begins to anchor, typically after a couple of weeks, you can scale back watering and water less often but more deeply.
Installing a sprinkler system with adjustable zones helps manage water flow based on the slope and exposure of each area.
Limit Foot Traffic and Avoid Mowing Too Soon
Allow your new sod time to establish roots before walking on it or using a mower. On slopes, this is especially important since uneven pressure can disrupt soil contact. Most sod takes two to three weeks to establish a strong enough root system for light foot traffic.
Wait until your grass reaches approximately three inches in height before mowing, and use a sharp blade to minimize tearing. Set your mower height higher for the first cut, and mow perpendicular to the slope when possible for added safety.
Fill Gaps and Address Trouble Spots
After your lawn settles for a few weeks, inspect it closely.
Some areas may show signs of thinning, shifting, or runoff damage. You can patch low spots with topsoil and overseed with the same type of grass to maintain uniformity.
If your lawn slopes more steeply than you expected or the sod keeps shifting, you might need to add more sod staples or adjust your watering schedule.
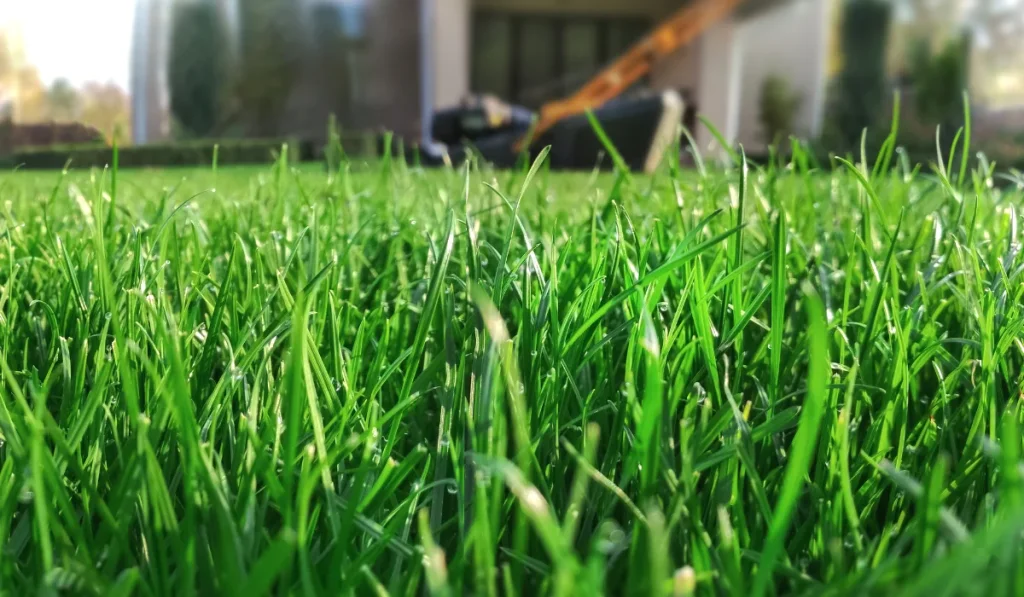
Keep Up With Seasonal Lawn Care
Once your sod is established, it needs ongoing lawn care to stay healthy.
Fertilize during the active growing season (usually spring through fall for warm-season grasses like TifTuf or St. Augustine), and consider overseeding with cool-season grasses, such as tall fescue, in transitional climates.
Adjust your mowing schedule according to the time of year and monitor your lawn for signs of stress, particularly after periods of heavy rainfall or drought.
Steep or uneven lawns tend to show signs of wear more quickly, so staying ahead of problems makes a significant difference.
Frequently Asked Questions
Can I install sod on a slope without removing the existing grass?
Keeping the old grass in place blocks root contact, leading to poor bonding with the soil. For the sod to stay put and grow well, the area must be completely cleared.
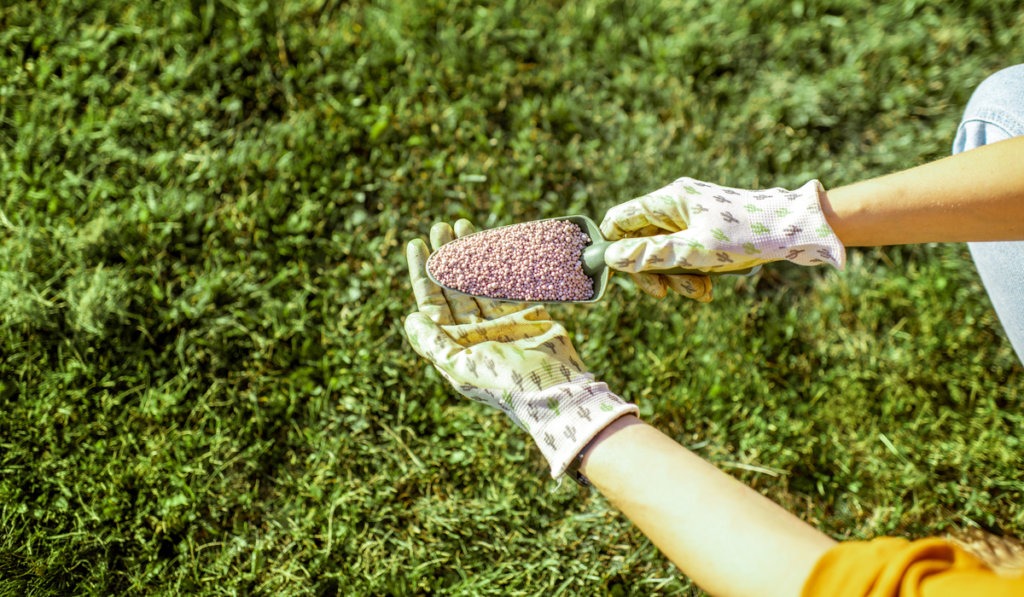
How long should I wait before fertilizing new sod on a slope?
Fertilize four to six weeks after installation to avoid burning the roots. Early fertilizing can also wash away with runoff, especially if your slope doesn’t absorb water quickly or evenly.
What tools make sod installation easier on uneven ground?
A grading rake, lawn roller, sod staples, and a sharp utility knife help level the soil, hold the sod in place, and cut around curves or tight spots more easily.